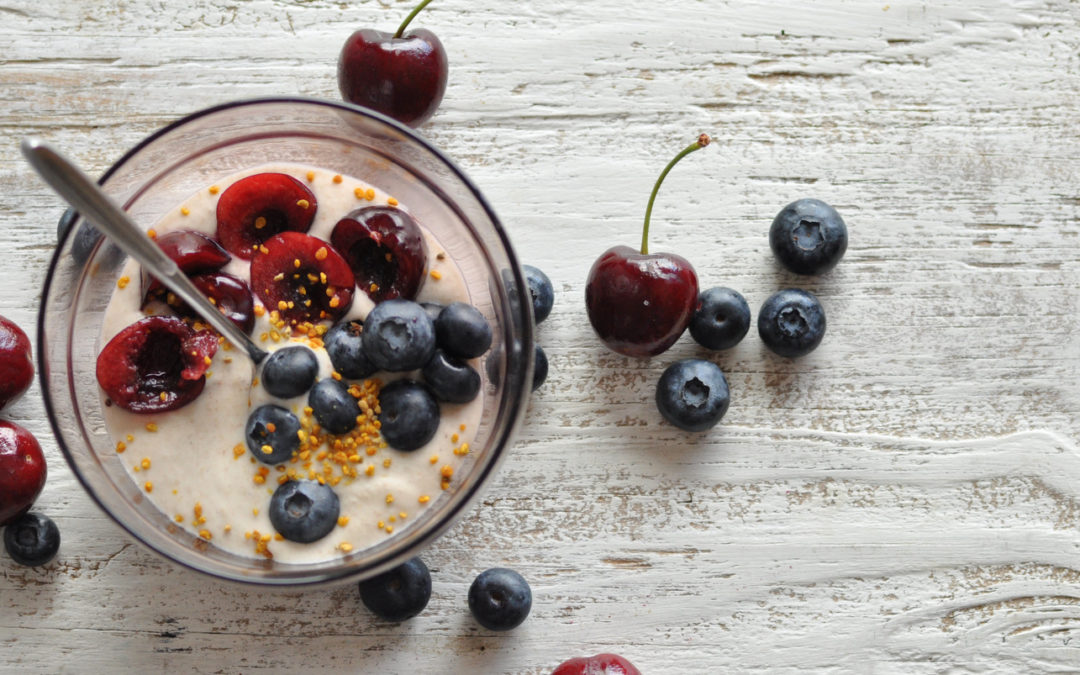
by Linn Thorstensson | Jul 12, 2015 | Breakfast, Gluten free, Recipes
Last summer this was by far my favourite breakfast. And as temperatures are improving, it’s back on the reperoire. It’s really simple to make (always a plus) and you can add what ever kind of berries you like or have to hand. It’s also makes nice...
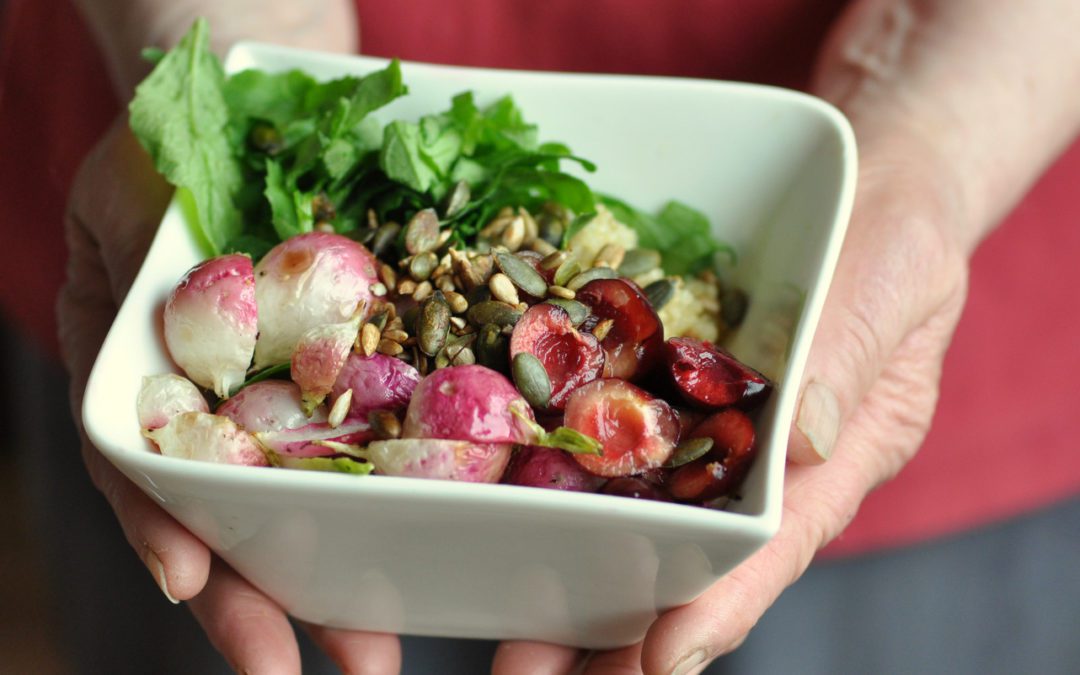
by Linn Thorstensson | Jun 28, 2015 | Recipes, Salad
As I write this, the rain is smattering against the window… Right now it doesn’t exactly feel like summer. But then yesterday it was hot and sunny. I suppose considering it’s already the end of June, things could be better, but they could also be a...