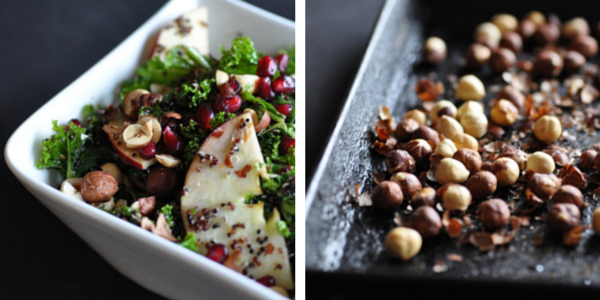
by Linn Thorstensson | Oct 31, 2014 | Dairy free recipes, Gluten free, Healthy Foods, Immune System, Salad, Vegan, Vegetarian
Time to get back to winter greens. No need to skimp on the raw stuff just because the weather has gotten a little cooler eh? This recipe is one I made for Chelsea – Aka The Naked Fig, back in the Spring as part of our guest blogging swap. As it turned out to be...
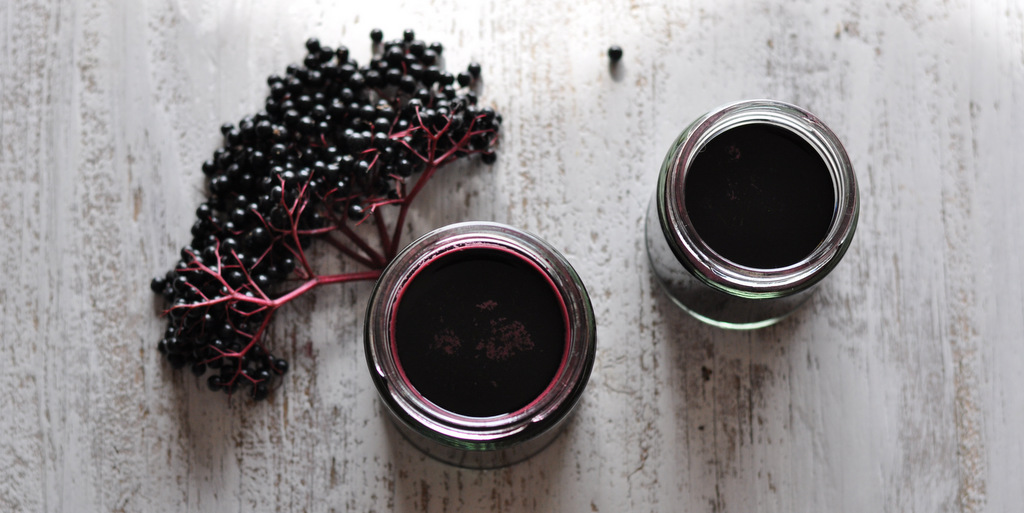
by Linn Thorstensson | Sep 23, 2014 | Drinks, Healthy Foods, Immune System, Nutritional Therapist, Recipes
Before the winter bugs hit and before it’s too late to pick ripe elderberry off the trees, have a go at this simple recipe and make your own immune boosting remedy. This was the first time I’ve tried making elderberry syrup myself so I used another recipe...
by Linn Thorstensson | Jan 12, 2014 | Drinks, Healthy Foods, Immune System
It is the middle of January. Usually a grey time of the year. A long, sometimes rather depressing month. We are feeling the aftermaths of Christmas. Perhaps both in the form of tighter jeans and an emptier wallet. If this is you, then I’m positively confident...