Normally I post new blogs on Sunday afternoon, but with this recent spell of snow(!) and winter weather I decided that I might as well post this as I write it. And after a little hiatus I...
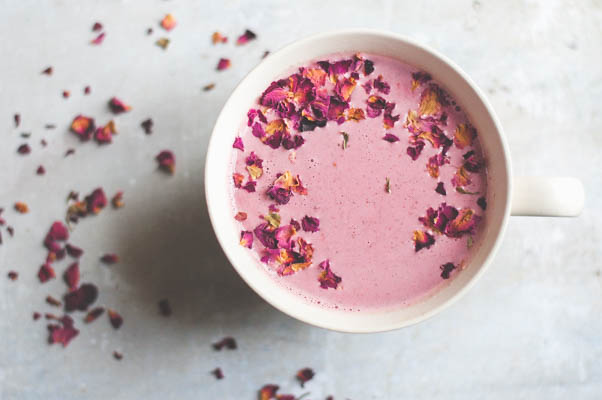
Beetroot Latte
read more
BROWSE ALL POSTS IN:
Normally I post new blogs on Sunday afternoon, but with this recent spell of snow(!) and winter weather I decided that I might as well post this as I write it. And after a little hiatus I...
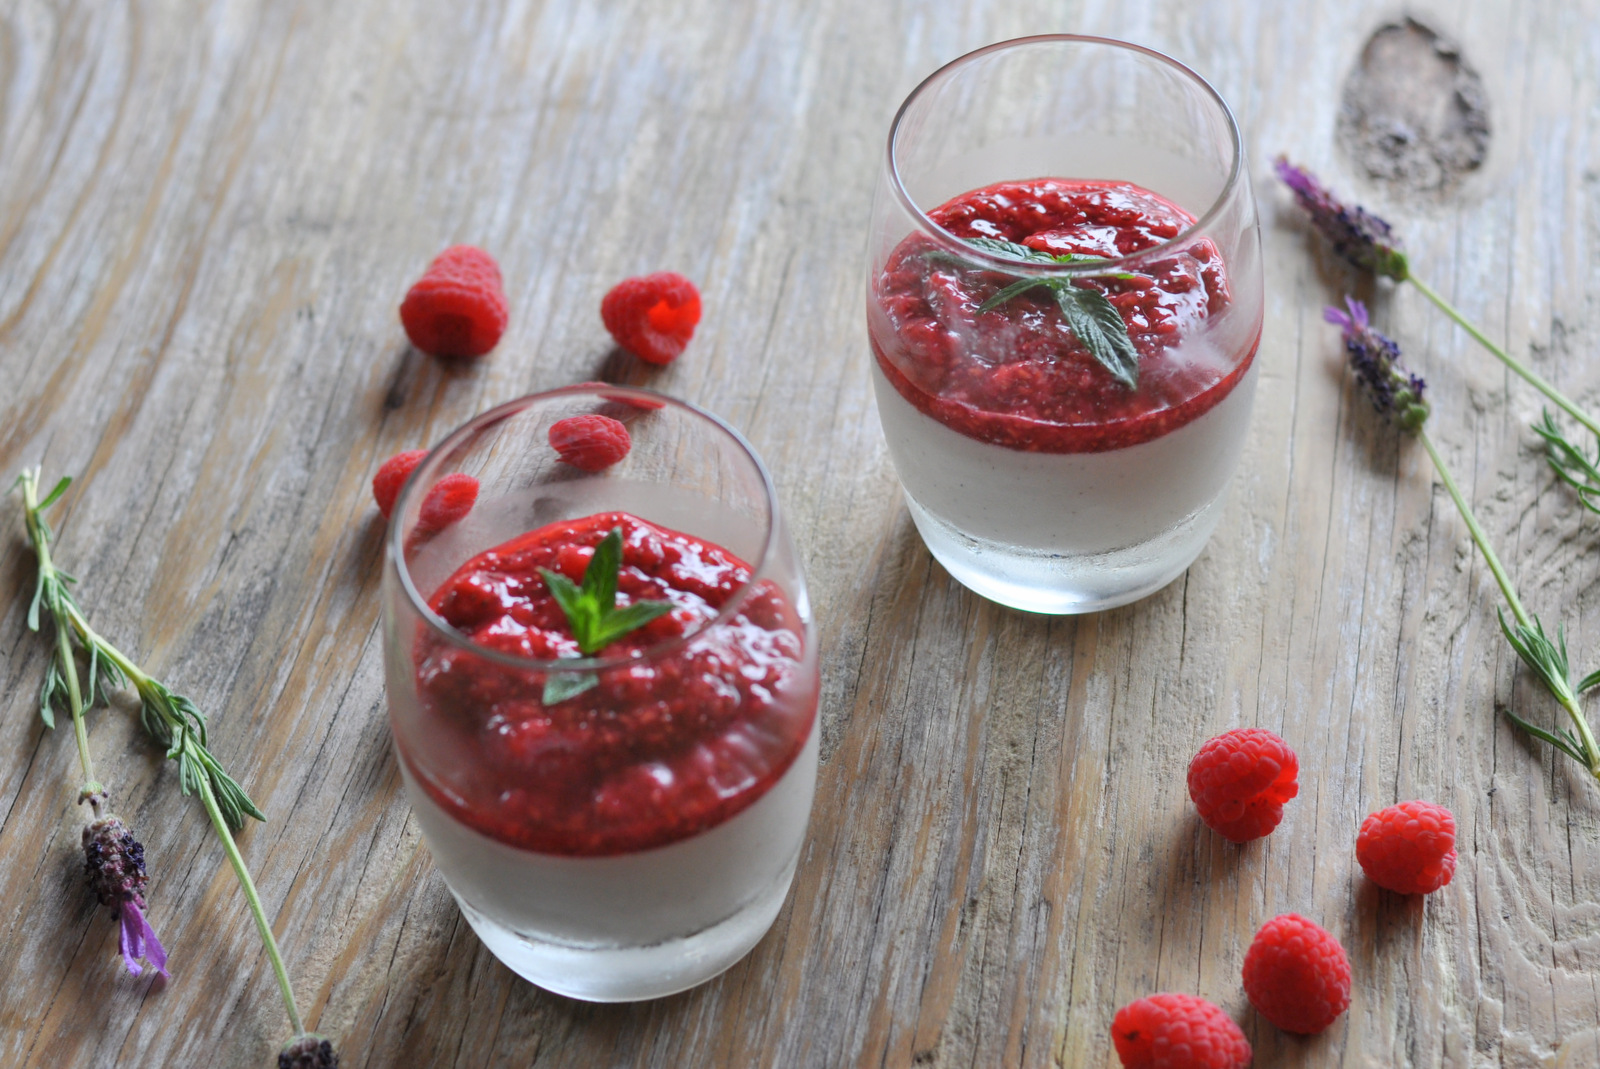
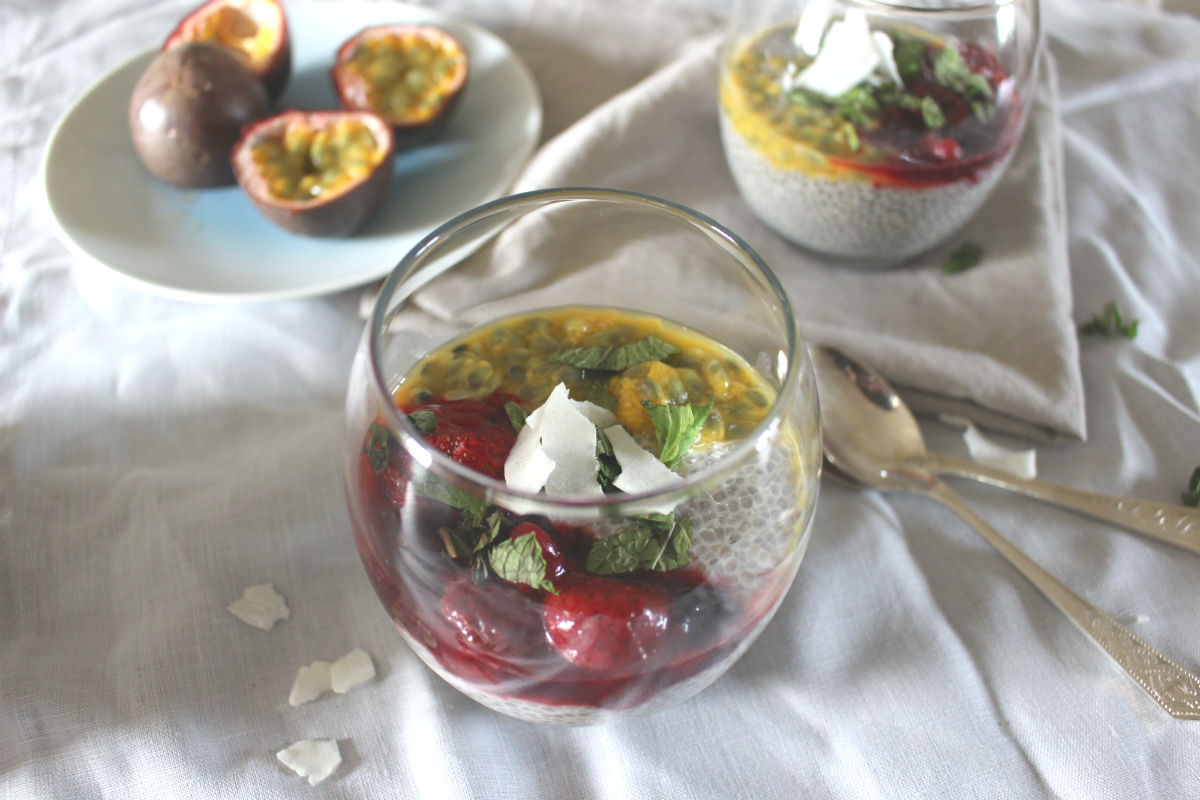
Let’s continue with the theme of sweetness. And summer. After about 10 days spent with my family in Sweden, where it wasn’t up the usual July temperatures, I subsequently returned to an...
I have this things for grocery shopping… And trying out new foods… And sometimes this “thing” turns out to be a rather indulgent AND expensive hobby. I’m still not sure where this love of...
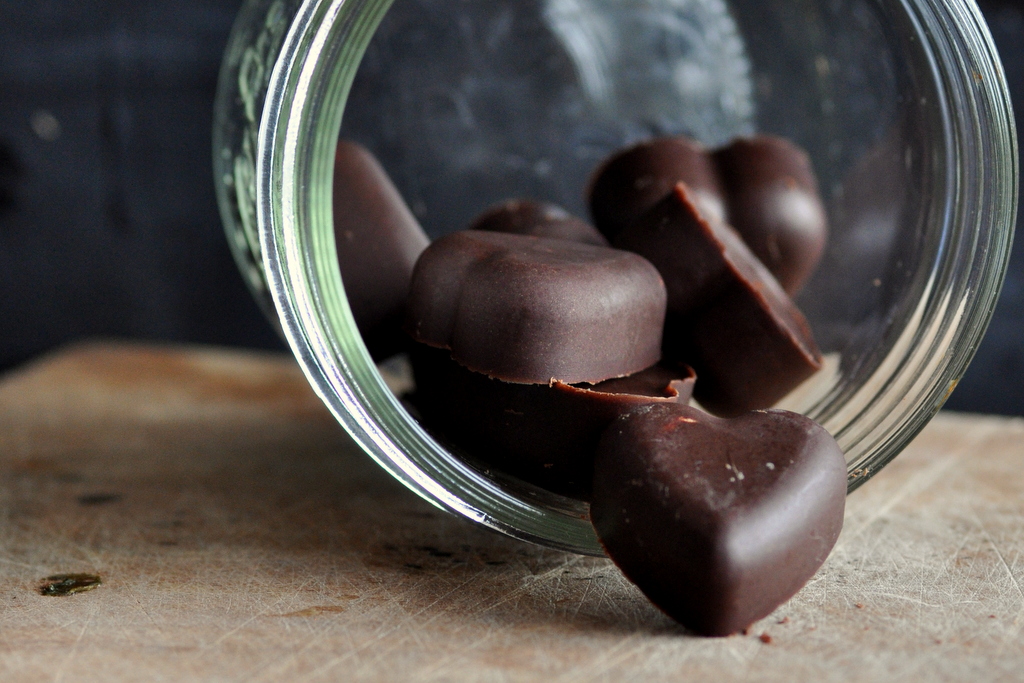
I think it was about time I shared another sweet recipe here on the blog again. And if you read my last post, about my own personal history with food (sugar in particular) and how I made...
This week I'm really excited about introducing you all to another Irish Food Blogger, Frances Walsh from The Honest Project! We are doing a blog and recipe swap and you will be able to read my...
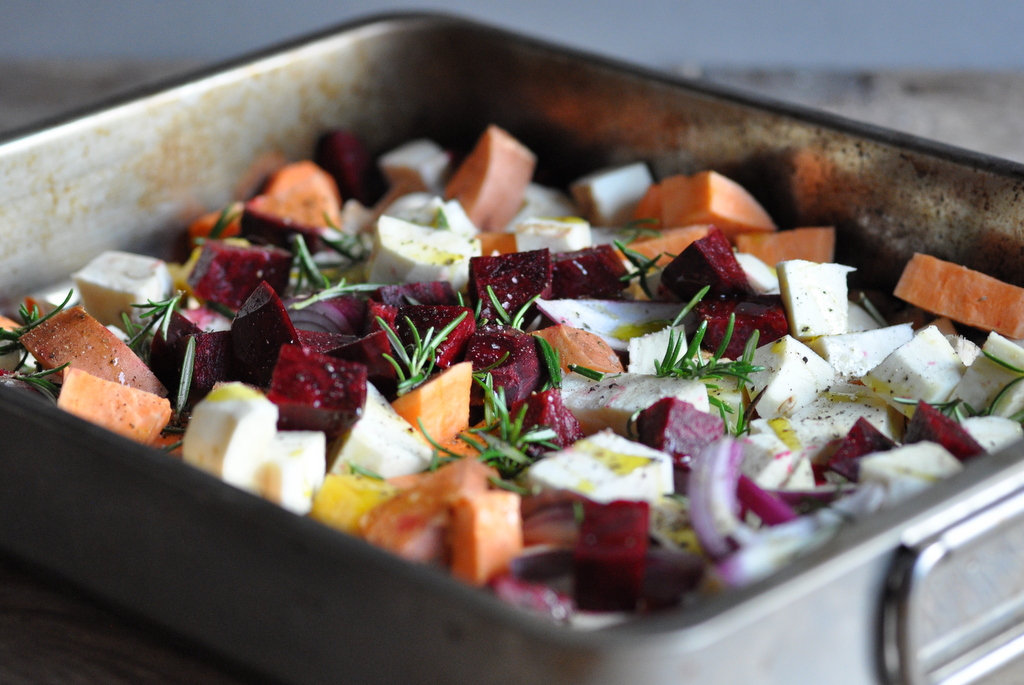
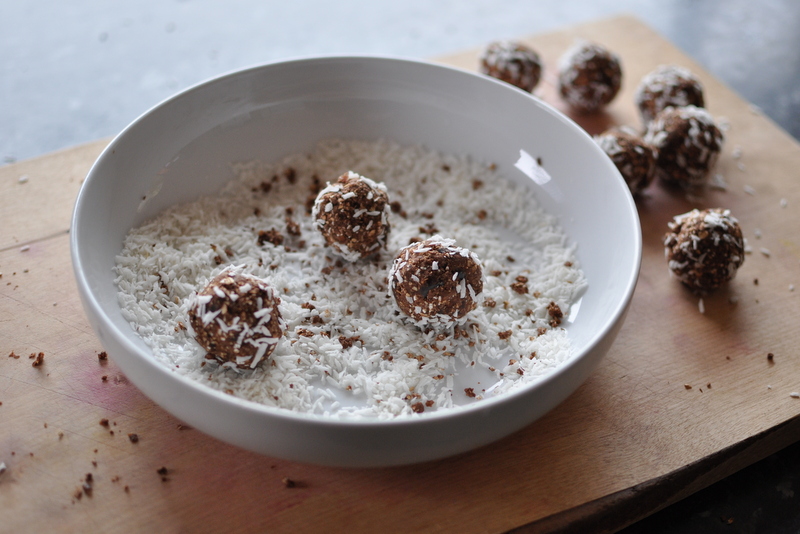
This week’s recipe is actually part of what we enjoyed at our Christmas gathering when I was back home in Sweden with my family. So I let the sweet and swift memories of the end of 2016 take us in...