Woho! The first new recipe for my new site, an Apple & Blackberry Crumble is here. I really hope you are excited about this as I am. Especially since it was 1st of July since I last put up...
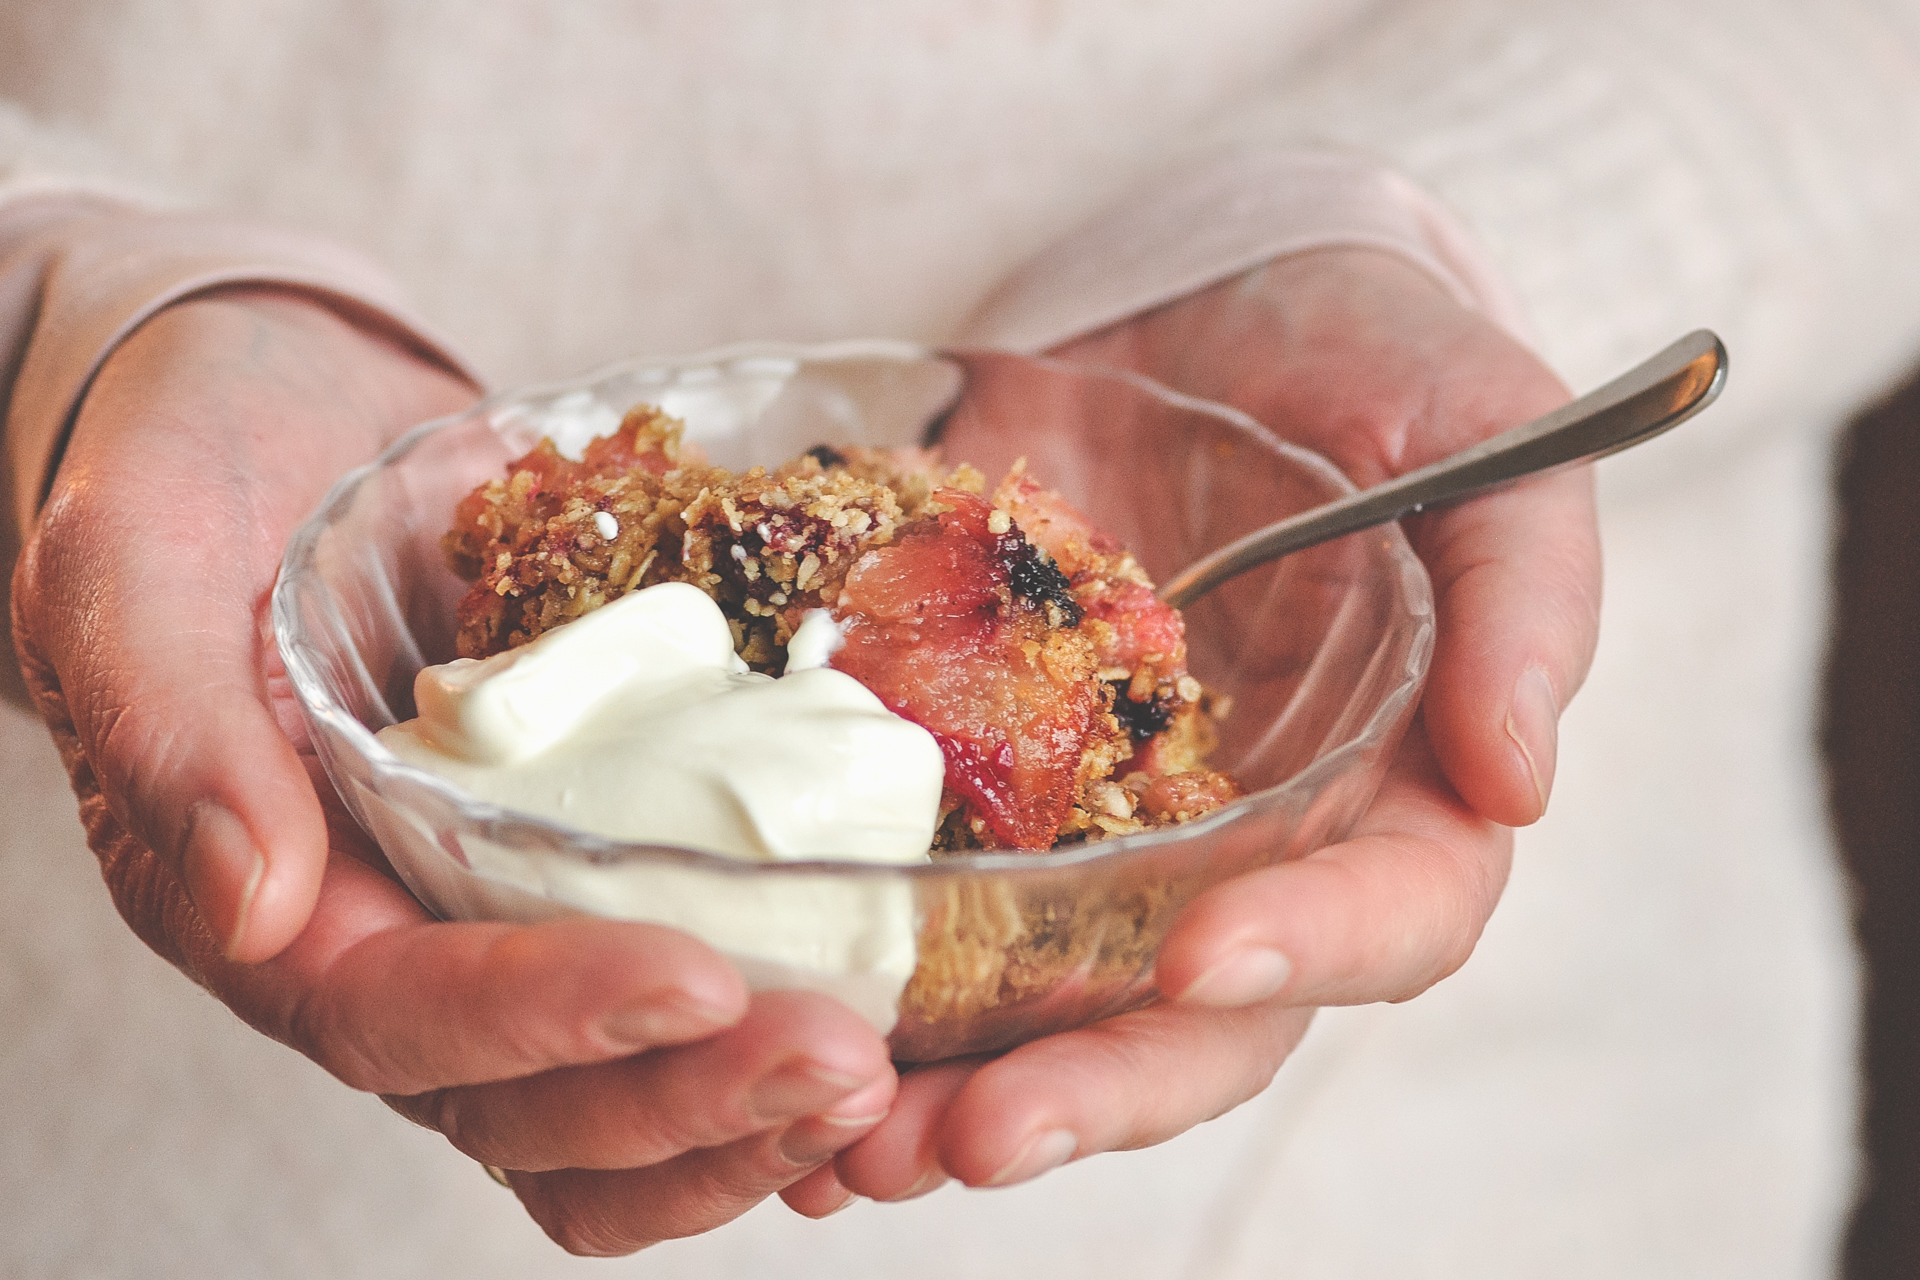
Apple & Blackberry Crumble With Chinese Five Spice
read more