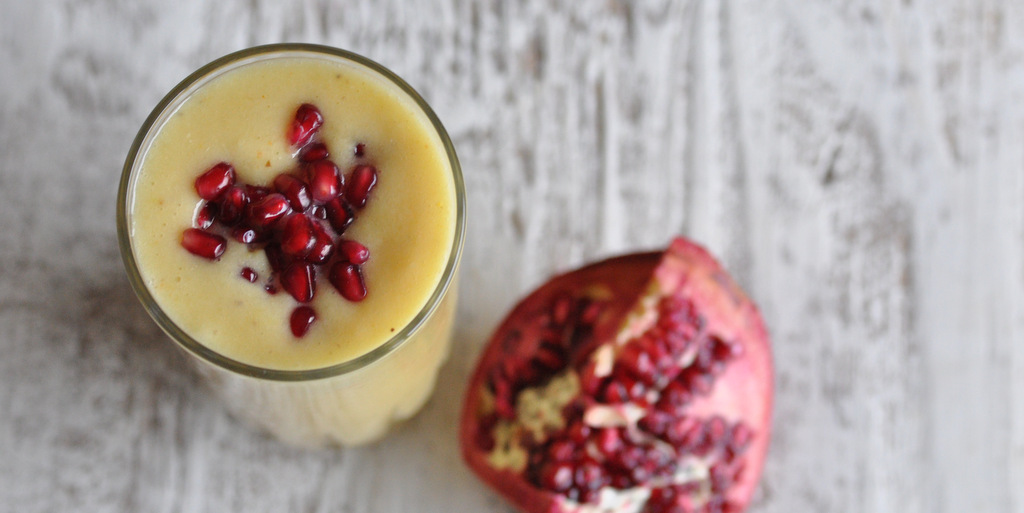
by Linn Thorstensson | Mar 7, 2016 | Breakfast, Dairy free recipes, Drinks, Immune System, Recipes, Vegan
In keeping with the yellow theme from last month’s blog post on the FIRE Aspect, I give you another yellow combination. And yes, it’s still a liquid one(!) *Note to self, make the next recipe something that you’ll chew* But as I’m getting...
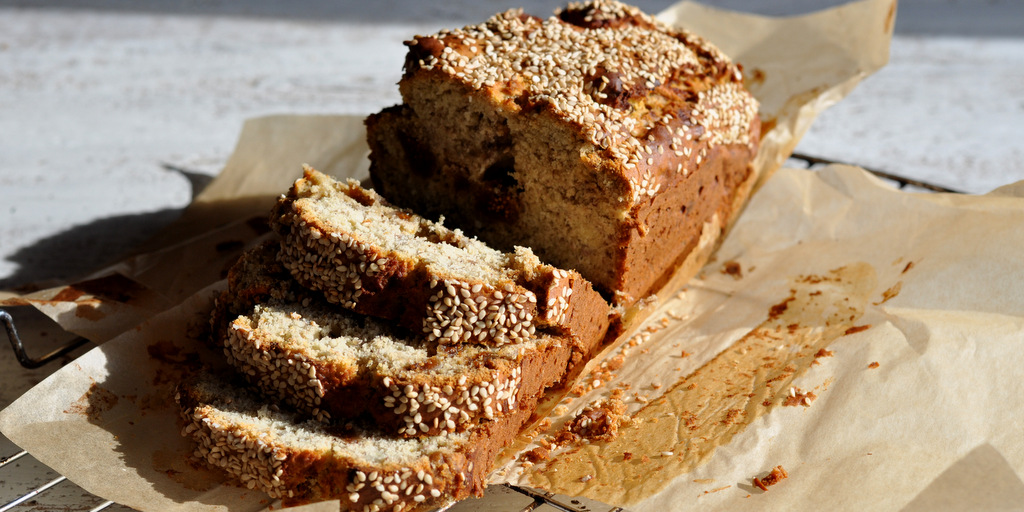
by Linn Thorstensson | Feb 1, 2015 | Dairy free recipes, Gluten free, Healthy Treats, Recipes, snack
The start of a new month! Spring is almost palpable. How are those New Year’s resolutions coming along? I hope you haven’t given up already… One of my resolutions is to start using my (rather large) collection of cookbooks a little more. So I’m...
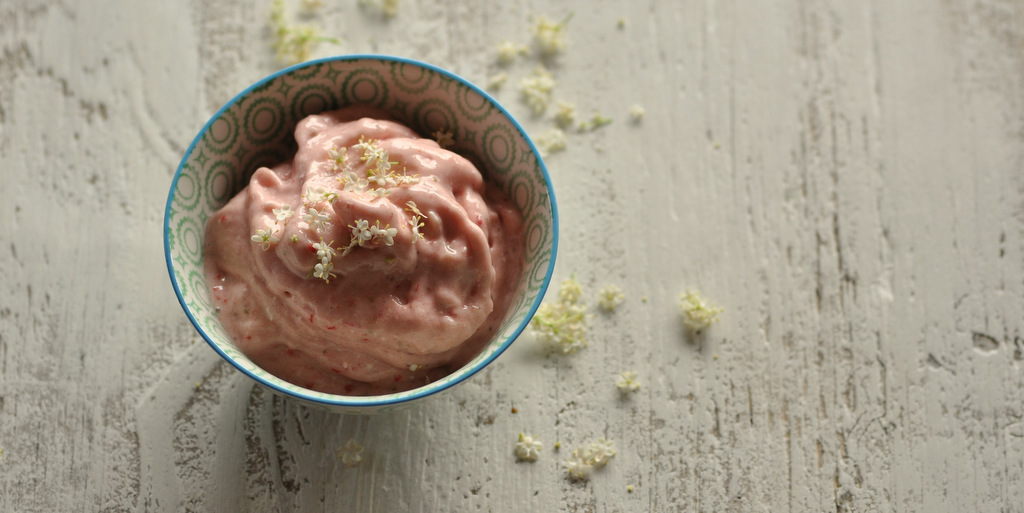
by Linn Thorstensson | Jun 24, 2014 | Dairy free recipes, Gluten free, Healthy Foods, Healthy Treats, snack, Vegan, Vegetarian
We are still enjoying some warm weather here in beautiful co. Cork, so this week I am going to treat you to a really simple yet healthy “ice cream” recipe. And not too many words, promise! I’m currently writing this from my temporary outdoor office....
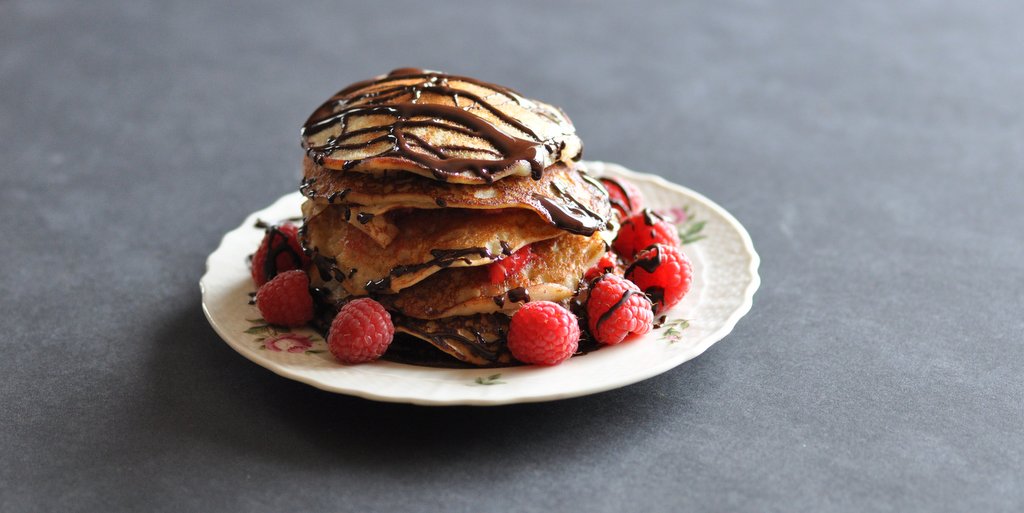
by Linn Thorstensson | Mar 3, 2014 | Breakfast, Dairy free recipes, Gluten free, Healthy Treats, Nutritional Therapist, Vegetarian
It’s Pancake Tuesday! Finally. What more do I have to say. Pancakes are really good any time of year, especially on a lazy Sunday morning. For the past few years I’ve had friends over to my house for Pancake Tuesday. It’s great to cook and share a...