by Linn Thorstensson | Sep 11, 2017 | Breakfast, Healthy Treats, Recipes, snack, Vegan
Whilst I am chipping away at a non recipe blog post I thought I would share this seasonal favourite one of mine. It is funny because sometimes those types of posts almost writes themselves, and other times they require a bit more of an effort. I picked up some really...
by Linn Thorstensson | Feb 26, 2017 | Breakfast, Dairy free recipes, Guest Post, Healthy Treats, Recipes, snack
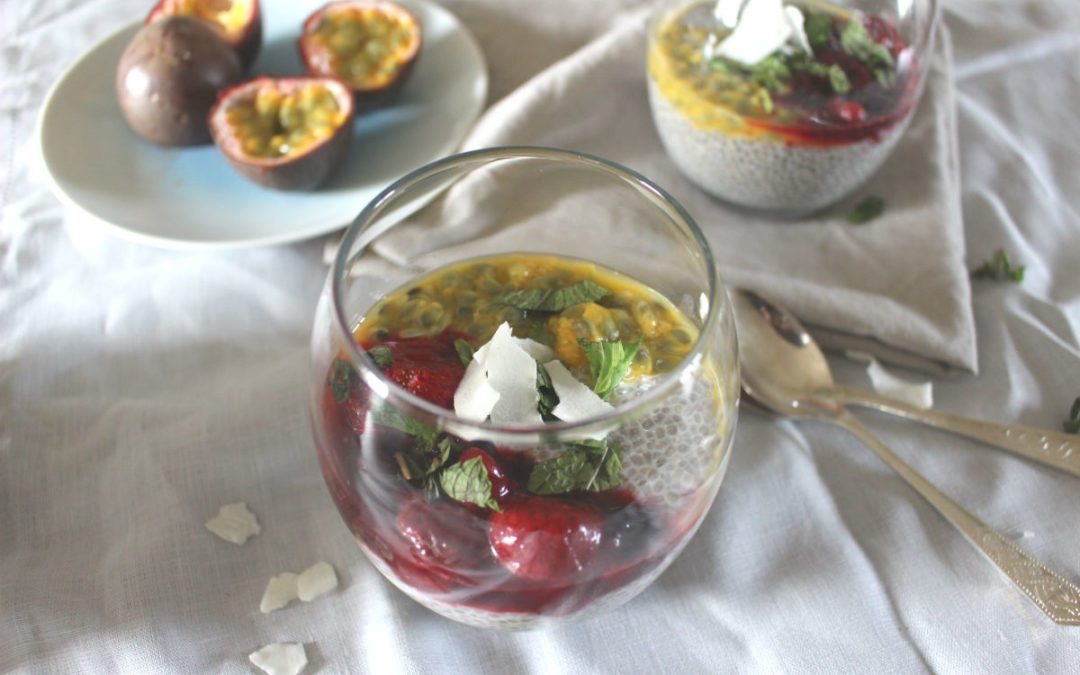
This week I’m really excited about introducing you all to another Irish Food Blogger, Frances Walsh from The Honest Project! We are doing a blog and recipe swap and you will be able to read my contribution to Frances’s blog over here. But now...
by Linn Thorstensson | Oct 30, 2016 | Breakfast, Dairy free recipes, Recipes, snack, Vegan
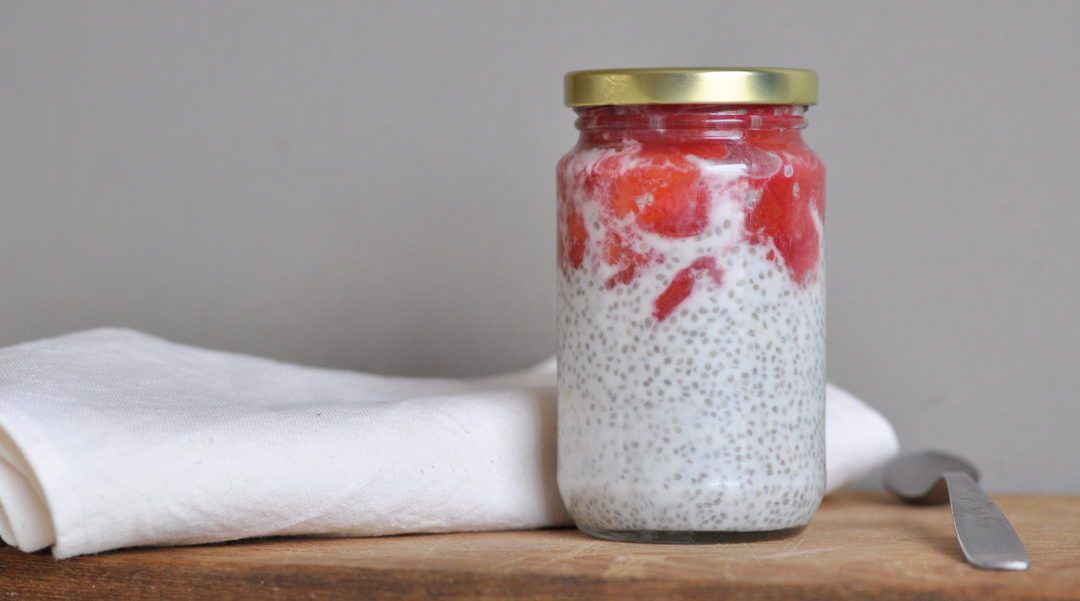
Many months ago I posted a chia pudding recipe here and there’s also many, many varieties floating around the internet. Why? One reason may be because it’s a bit trendy. Just like quinoa was a few years ago. And perhaps the other reason is that it is one...
by Linn Thorstensson | Sep 25, 2016 | Breakfast, Drinks, Healthy Foods, Recipes, Vegan
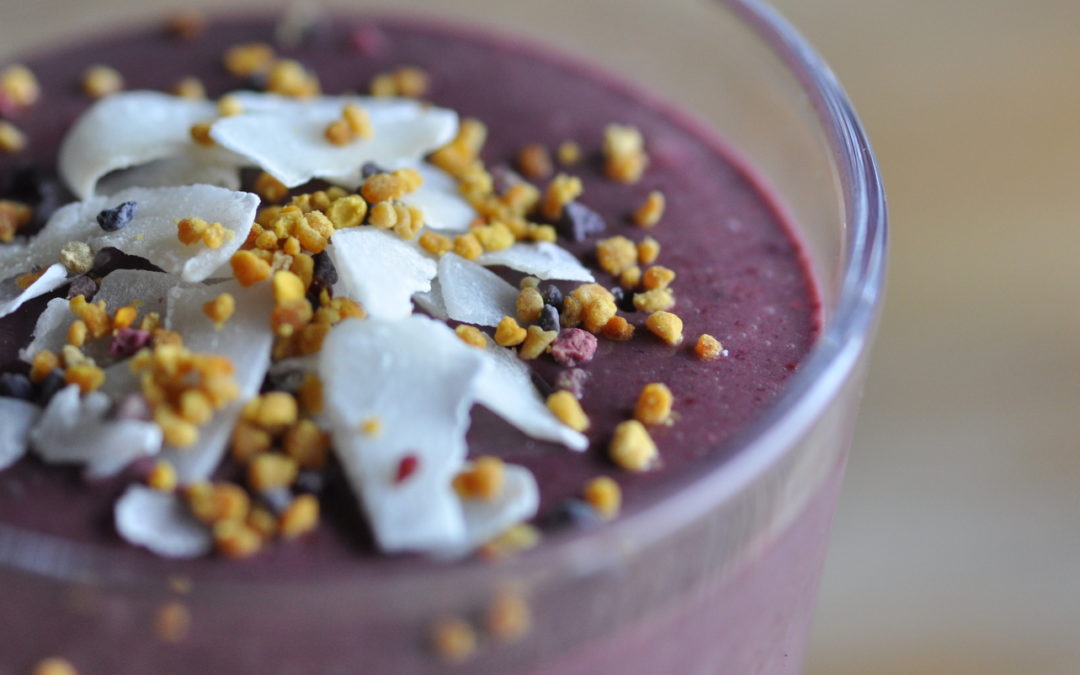
Let the purple theme continue! And the smoothie one too, of course. Purple is my favourite colour. So of course it made total sense to create a smoothie that was purple. It seems like late summer / early autumn is the natural season for purple foods. In the past few...
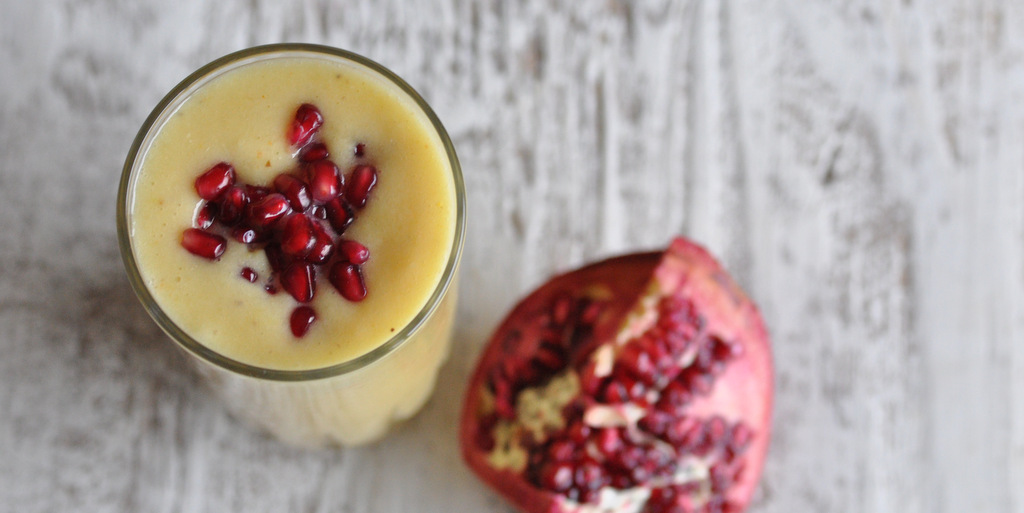
by Linn Thorstensson | Mar 7, 2016 | Breakfast, Dairy free recipes, Drinks, Immune System, Recipes, Vegan
In keeping with the yellow theme from last month’s blog post on the FIRE Aspect, I give you another yellow combination. And yes, it’s still a liquid one(!) *Note to self, make the next recipe something that you’ll chew* But as I’m getting...