by Linn Thorstensson | Jul 17, 2017 | Dairy free recipes, Gluten free, Recipes, snack, Vegan
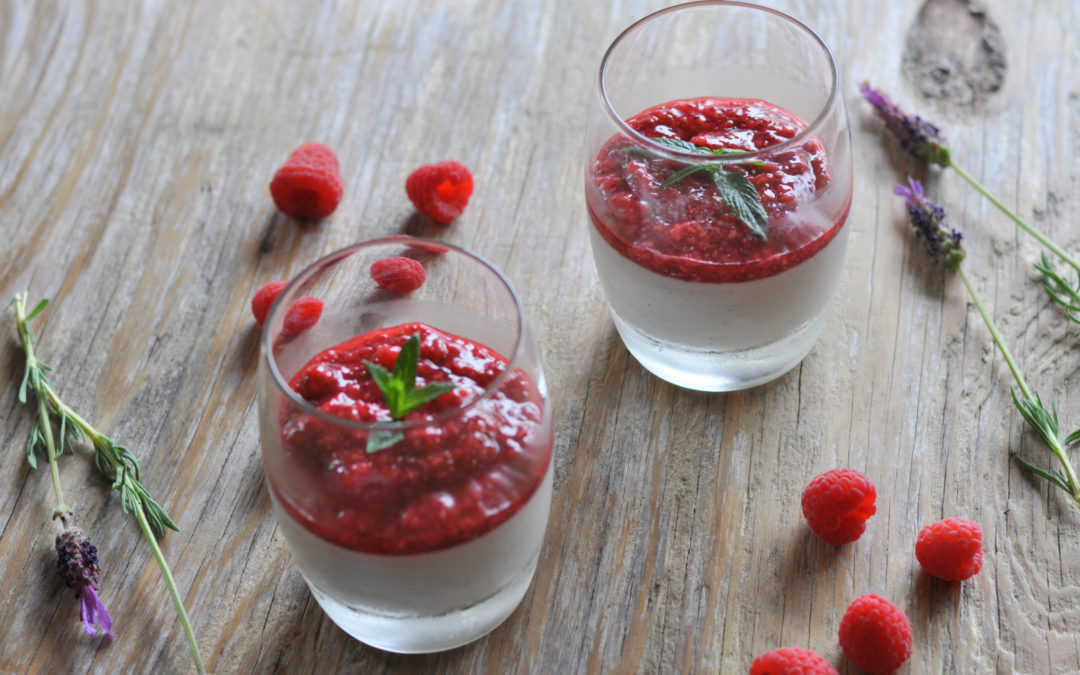
Let’s continue with the theme of sweetness. And summer. After about 10 days spent with my family in Sweden, where it wasn’t up the usual July temperatures, I subsequently returned to an Ireland which kind of is. So that inspired me to share this recipe I...
by Linn Thorstensson | Feb 26, 2017 | Breakfast, Dairy free recipes, Guest Post, Healthy Treats, Recipes, snack
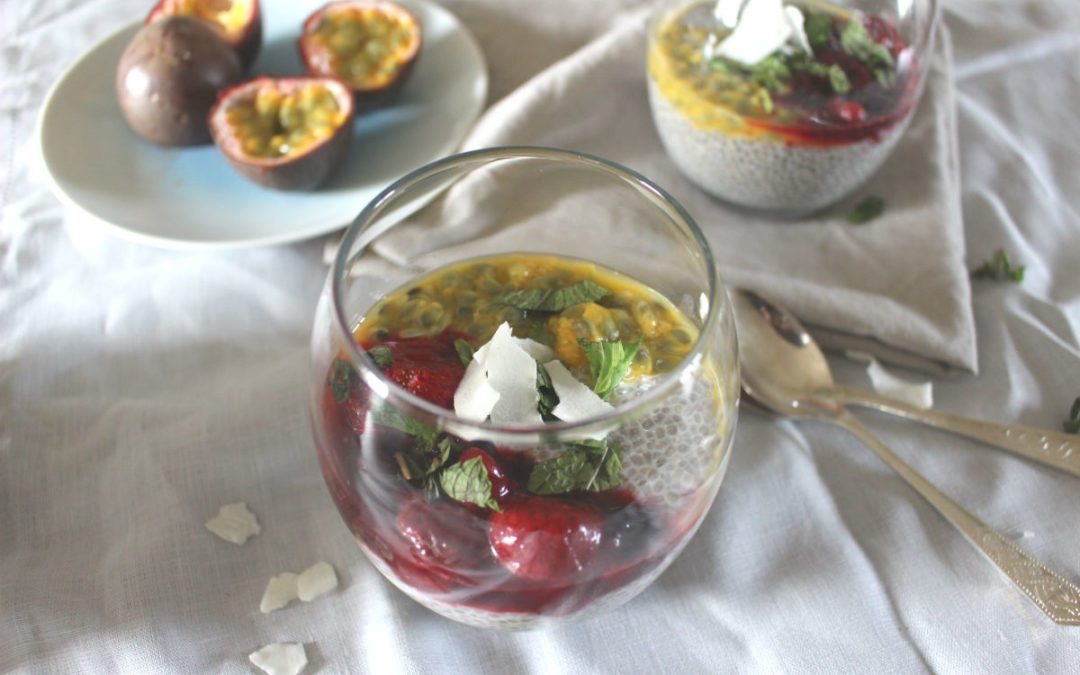
This week I’m really excited about introducing you all to another Irish Food Blogger, Frances Walsh from The Honest Project! We are doing a blog and recipe swap and you will be able to read my contribution to Frances’s blog over here. But now...
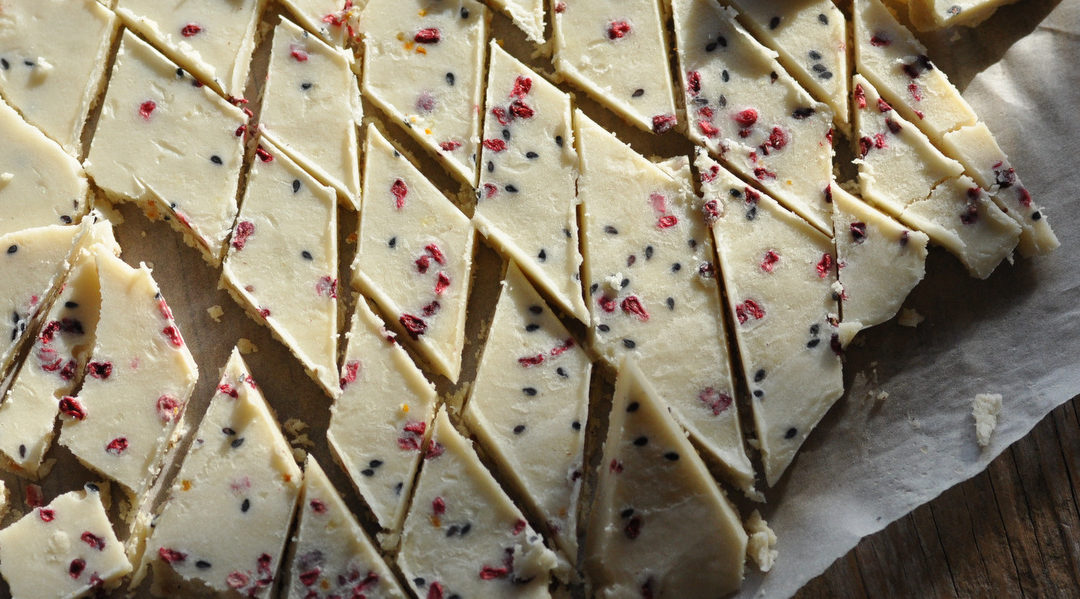
by Linn Thorstensson | Dec 4, 2016 | Dairy free recipes, Gluten free, Recipes, snack
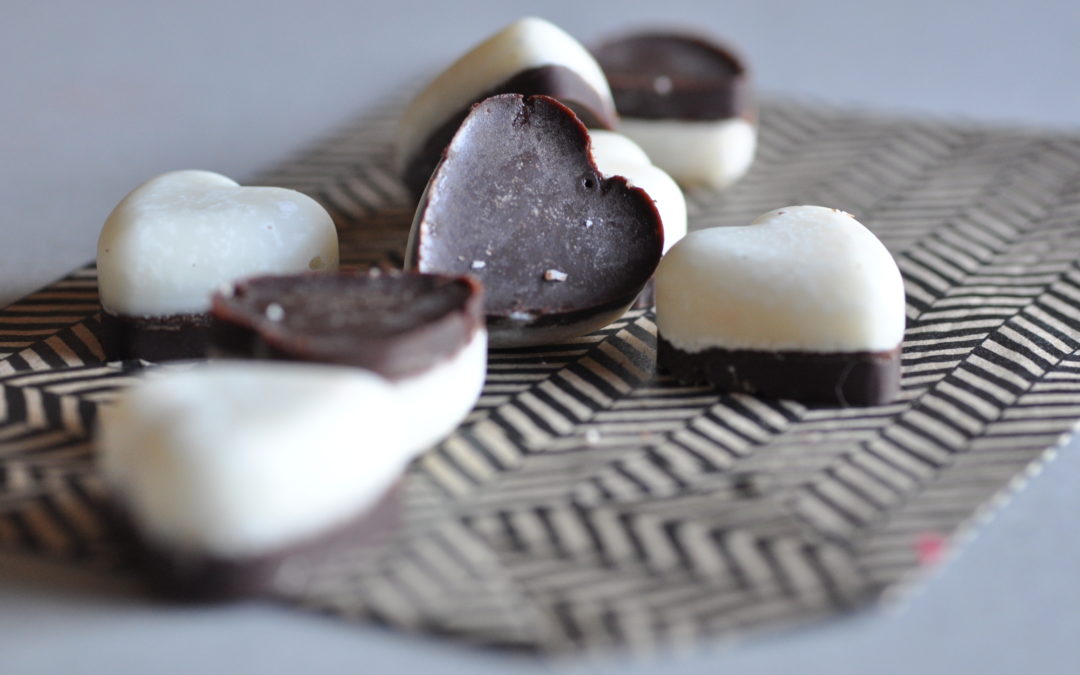
It’s that time of the year again, when you get to indulge in making and giving, without anyone questioning it. Actually it seems much expected that you do so. In this time of “shoulds”, “musts” and “have-tos”, a midst overwhelm and busyness perhaps a...
by Linn Thorstensson | Aug 28, 2016 | Healthy Foods, Recipes, Salad, Vegan, Vegetarian
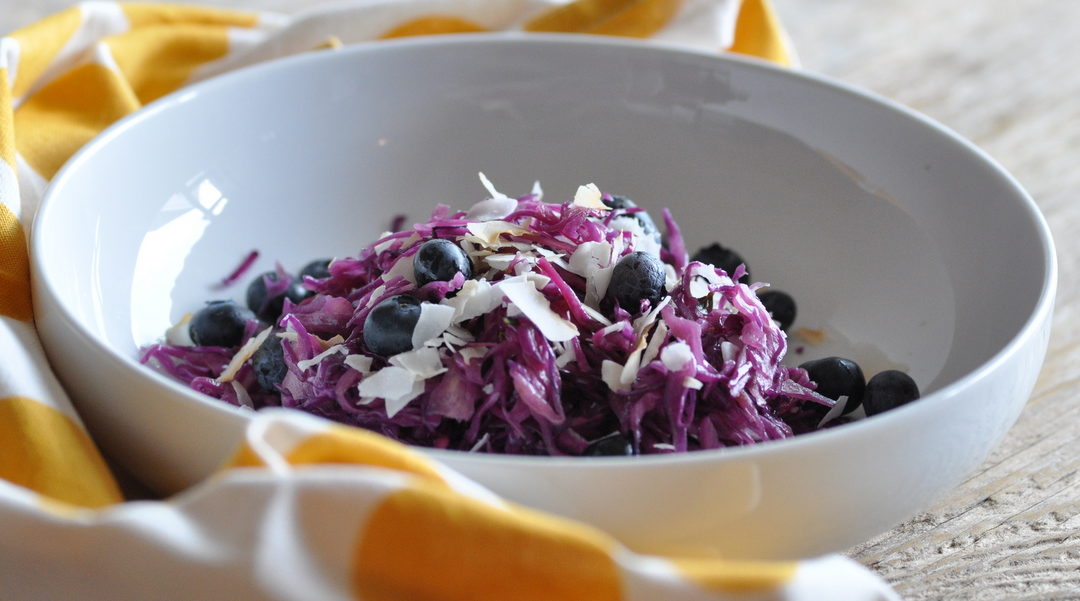
I’ve been wanting to share this recipe for the longest time ever! And I’ve also wanted to share a red cabbage recipe here forever… The funny thing is when you do food blogging though is that there’s so much timing involved. At least if you are...
by Linn Thorstensson | Jun 14, 2015 | Gluten free, Guest Post, Healthy Treats, Recipes, snack, Vegan
A (good) few week’s ago I got sent a lovely box of goodies to try from the superfood company Iswari. The company has it’s head quarters in Kinsale, Co. Cork, not a million miles away from where I live. Teaming up with a company that offers great quality...