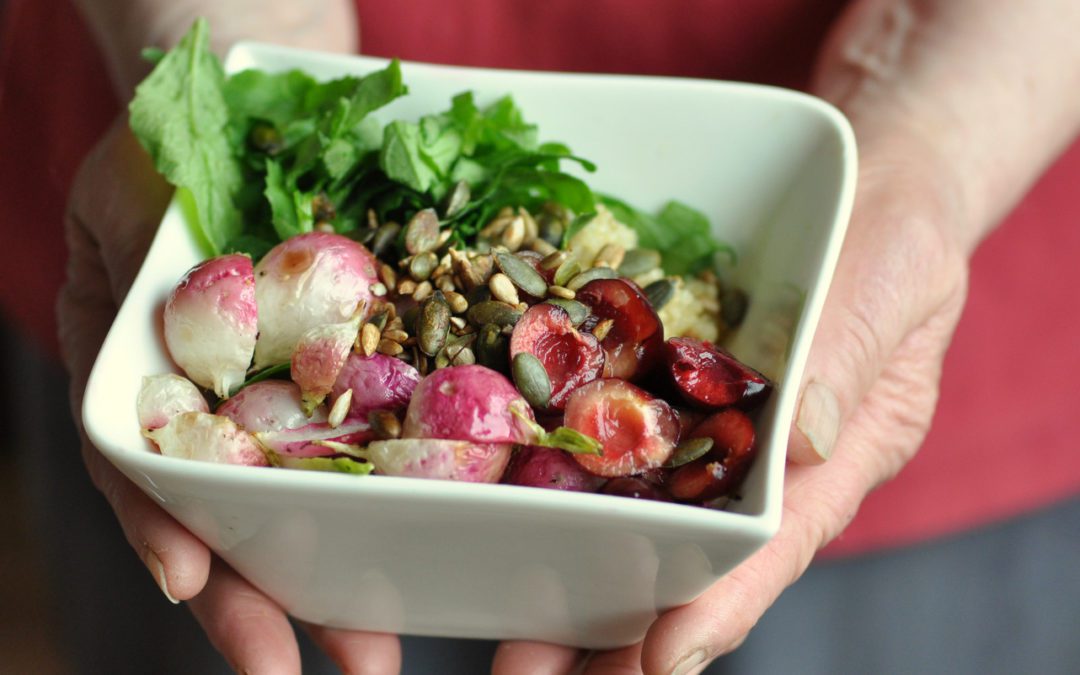
by Linn Thorstensson | Jun 28, 2015 | Recipes, Salad
As I write this, the rain is smattering against the window… Right now it doesn’t exactly feel like summer. But then yesterday it was hot and sunny. I suppose considering it’s already the end of June, things could be better, but they could also be a...
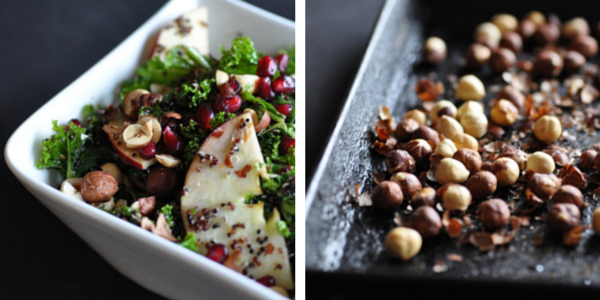
by Linn Thorstensson | Oct 31, 2014 | Dairy free recipes, Gluten free, Healthy Foods, Immune System, Salad, Vegan, Vegetarian
Time to get back to winter greens. No need to skimp on the raw stuff just because the weather has gotten a little cooler eh? This recipe is one I made for Chelsea – Aka The Naked Fig, back in the Spring as part of our guest blogging swap. As it turned out to be...
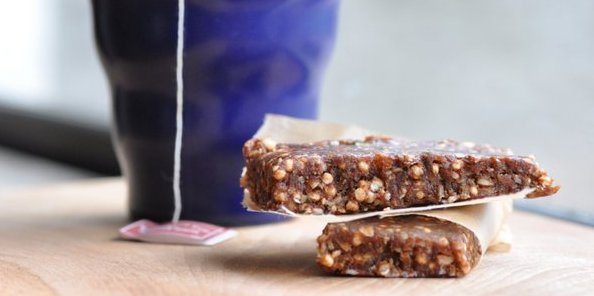
by Linn Thorstensson | Oct 7, 2013 | Dairy free recipes, Gluten free, Recipes, snack
So here we go… The very first blog post on Straightforward Nutrition’s new shiny website! I am pretty excited to begin this new part of our journey. I’ve been thinking about it for months now. How lovely it would be to create a space that would be...