by Linn Thorstensson | Mar 7, 2019 | Recipes
I have been running this blog for just over five years at this point, yet I feel like I still have really no particular structure for how and when to put out content in a more organised and orderly fashion… Maybe it is because this space doesn’t earn me any money...

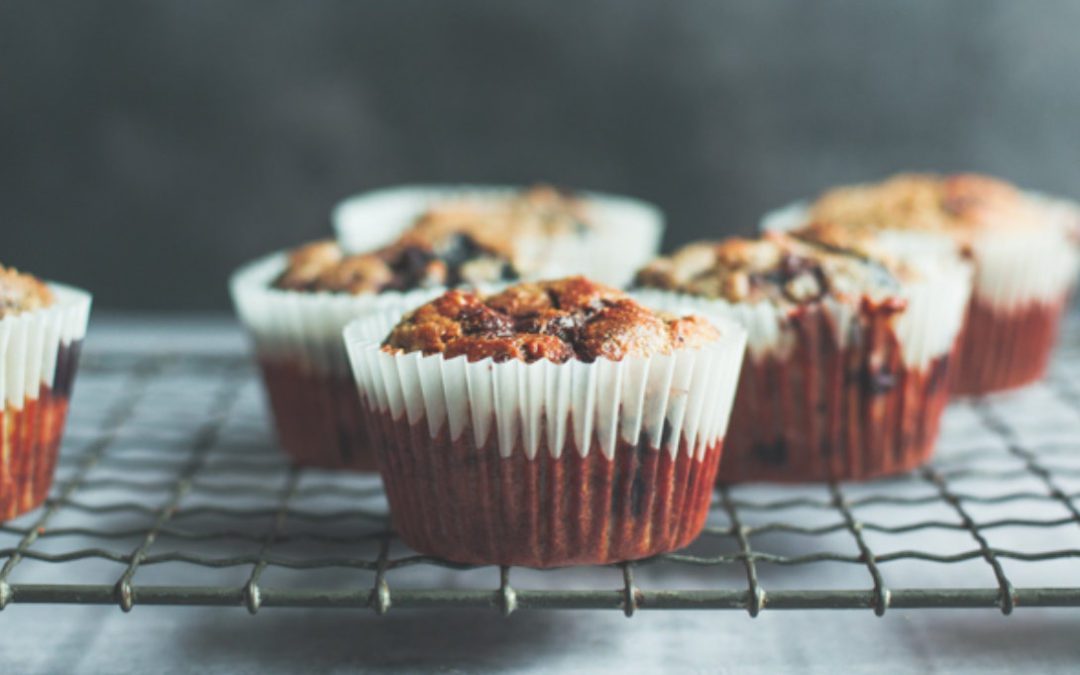
by Linn Thorstensson | May 21, 2018 | Recipes, snack
As I am striving to simplify my life with less stuff, I also feel a draw to create recipes that reflects that. Amid the current hype of “50-fancy-ingredient-lattes”, what I want is something tasty and comforting made from just a few store cupboard...
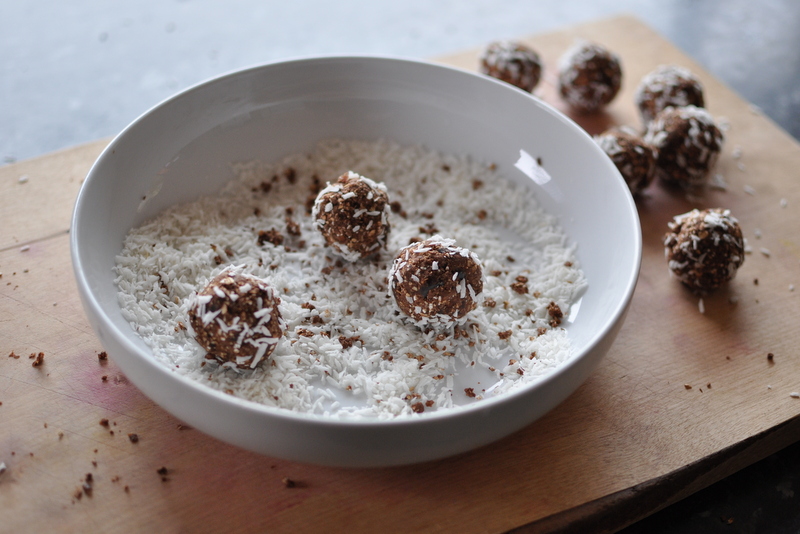
by Linn Thorstensson | May 31, 2017 | Dairy free recipes, Healthy Foods, Recipes, snack, Vegan
I think it was about time I shared another sweet recipe here on the blog again. And if you read my last post, about my own personal history with food (sugar in particular) and how I made eventually made peace with it all, then you will know that I love the...
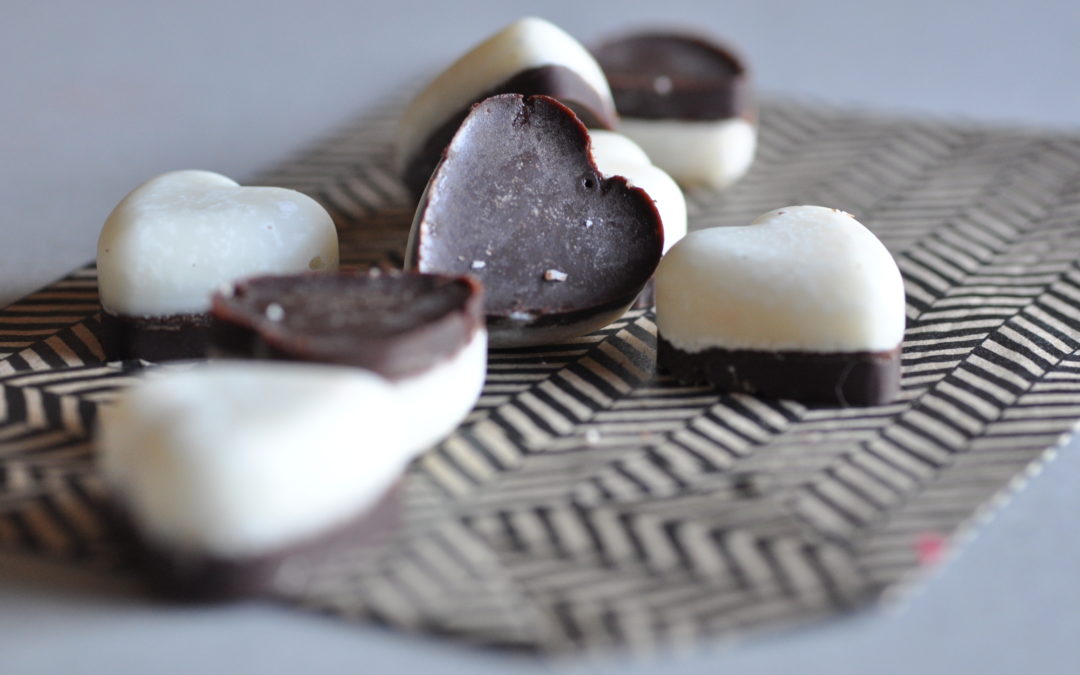
by Linn Thorstensson | Dec 4, 2016 | Dairy free recipes, Gluten free, Recipes, snack
It’s that time of the year again, when you get to indulge in making and giving, without anyone questioning it. Actually it seems much expected that you do so. In this time of “shoulds”, “musts” and “have-tos”, a midst overwhelm and busyness perhaps a...
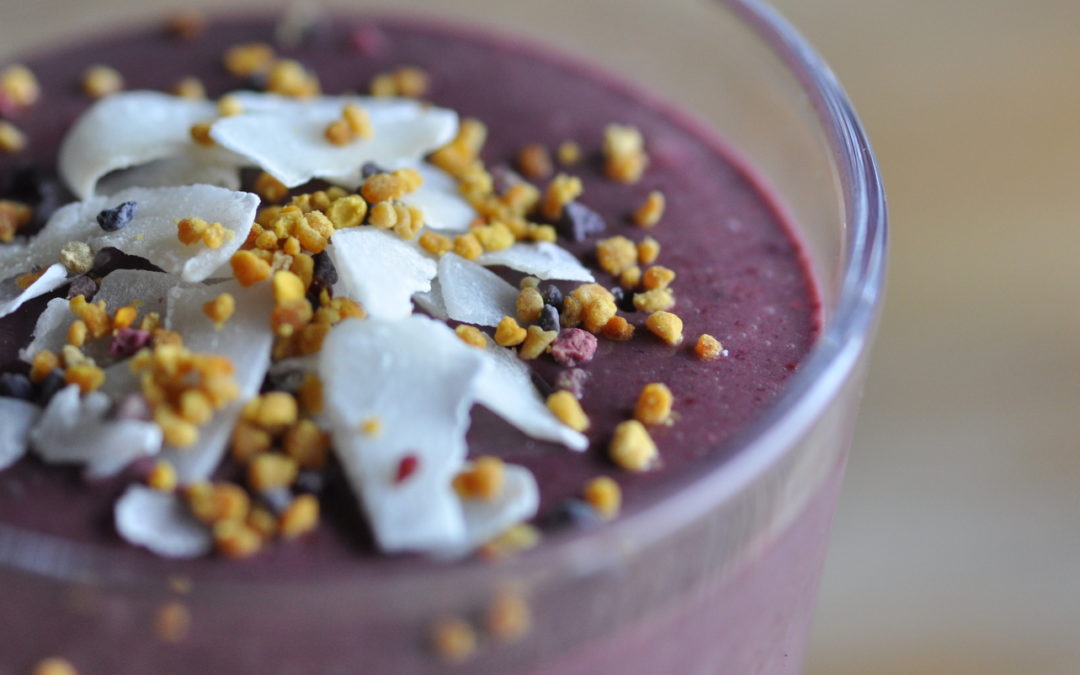
by Linn Thorstensson | Sep 25, 2016 | Breakfast, Drinks, Healthy Foods, Recipes, Vegan
Let the purple theme continue! And the smoothie one too, of course. Purple is my favourite colour. So of course it made total sense to create a smoothie that was purple. It seems like late summer / early autumn is the natural season for purple foods. In the past few...