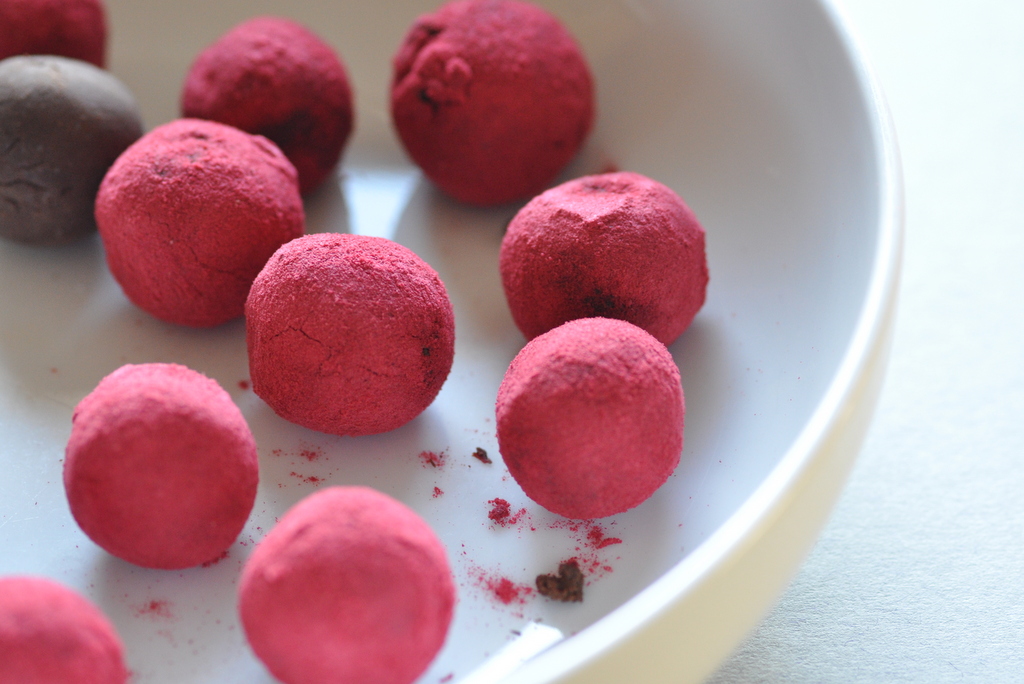
Can you believe it? Just a couple of weeks left of 2016, and Christmas just around the corner…! The common phrase of “Where does time go?” is the thing on my mind. Maybe my dad has a point when he...
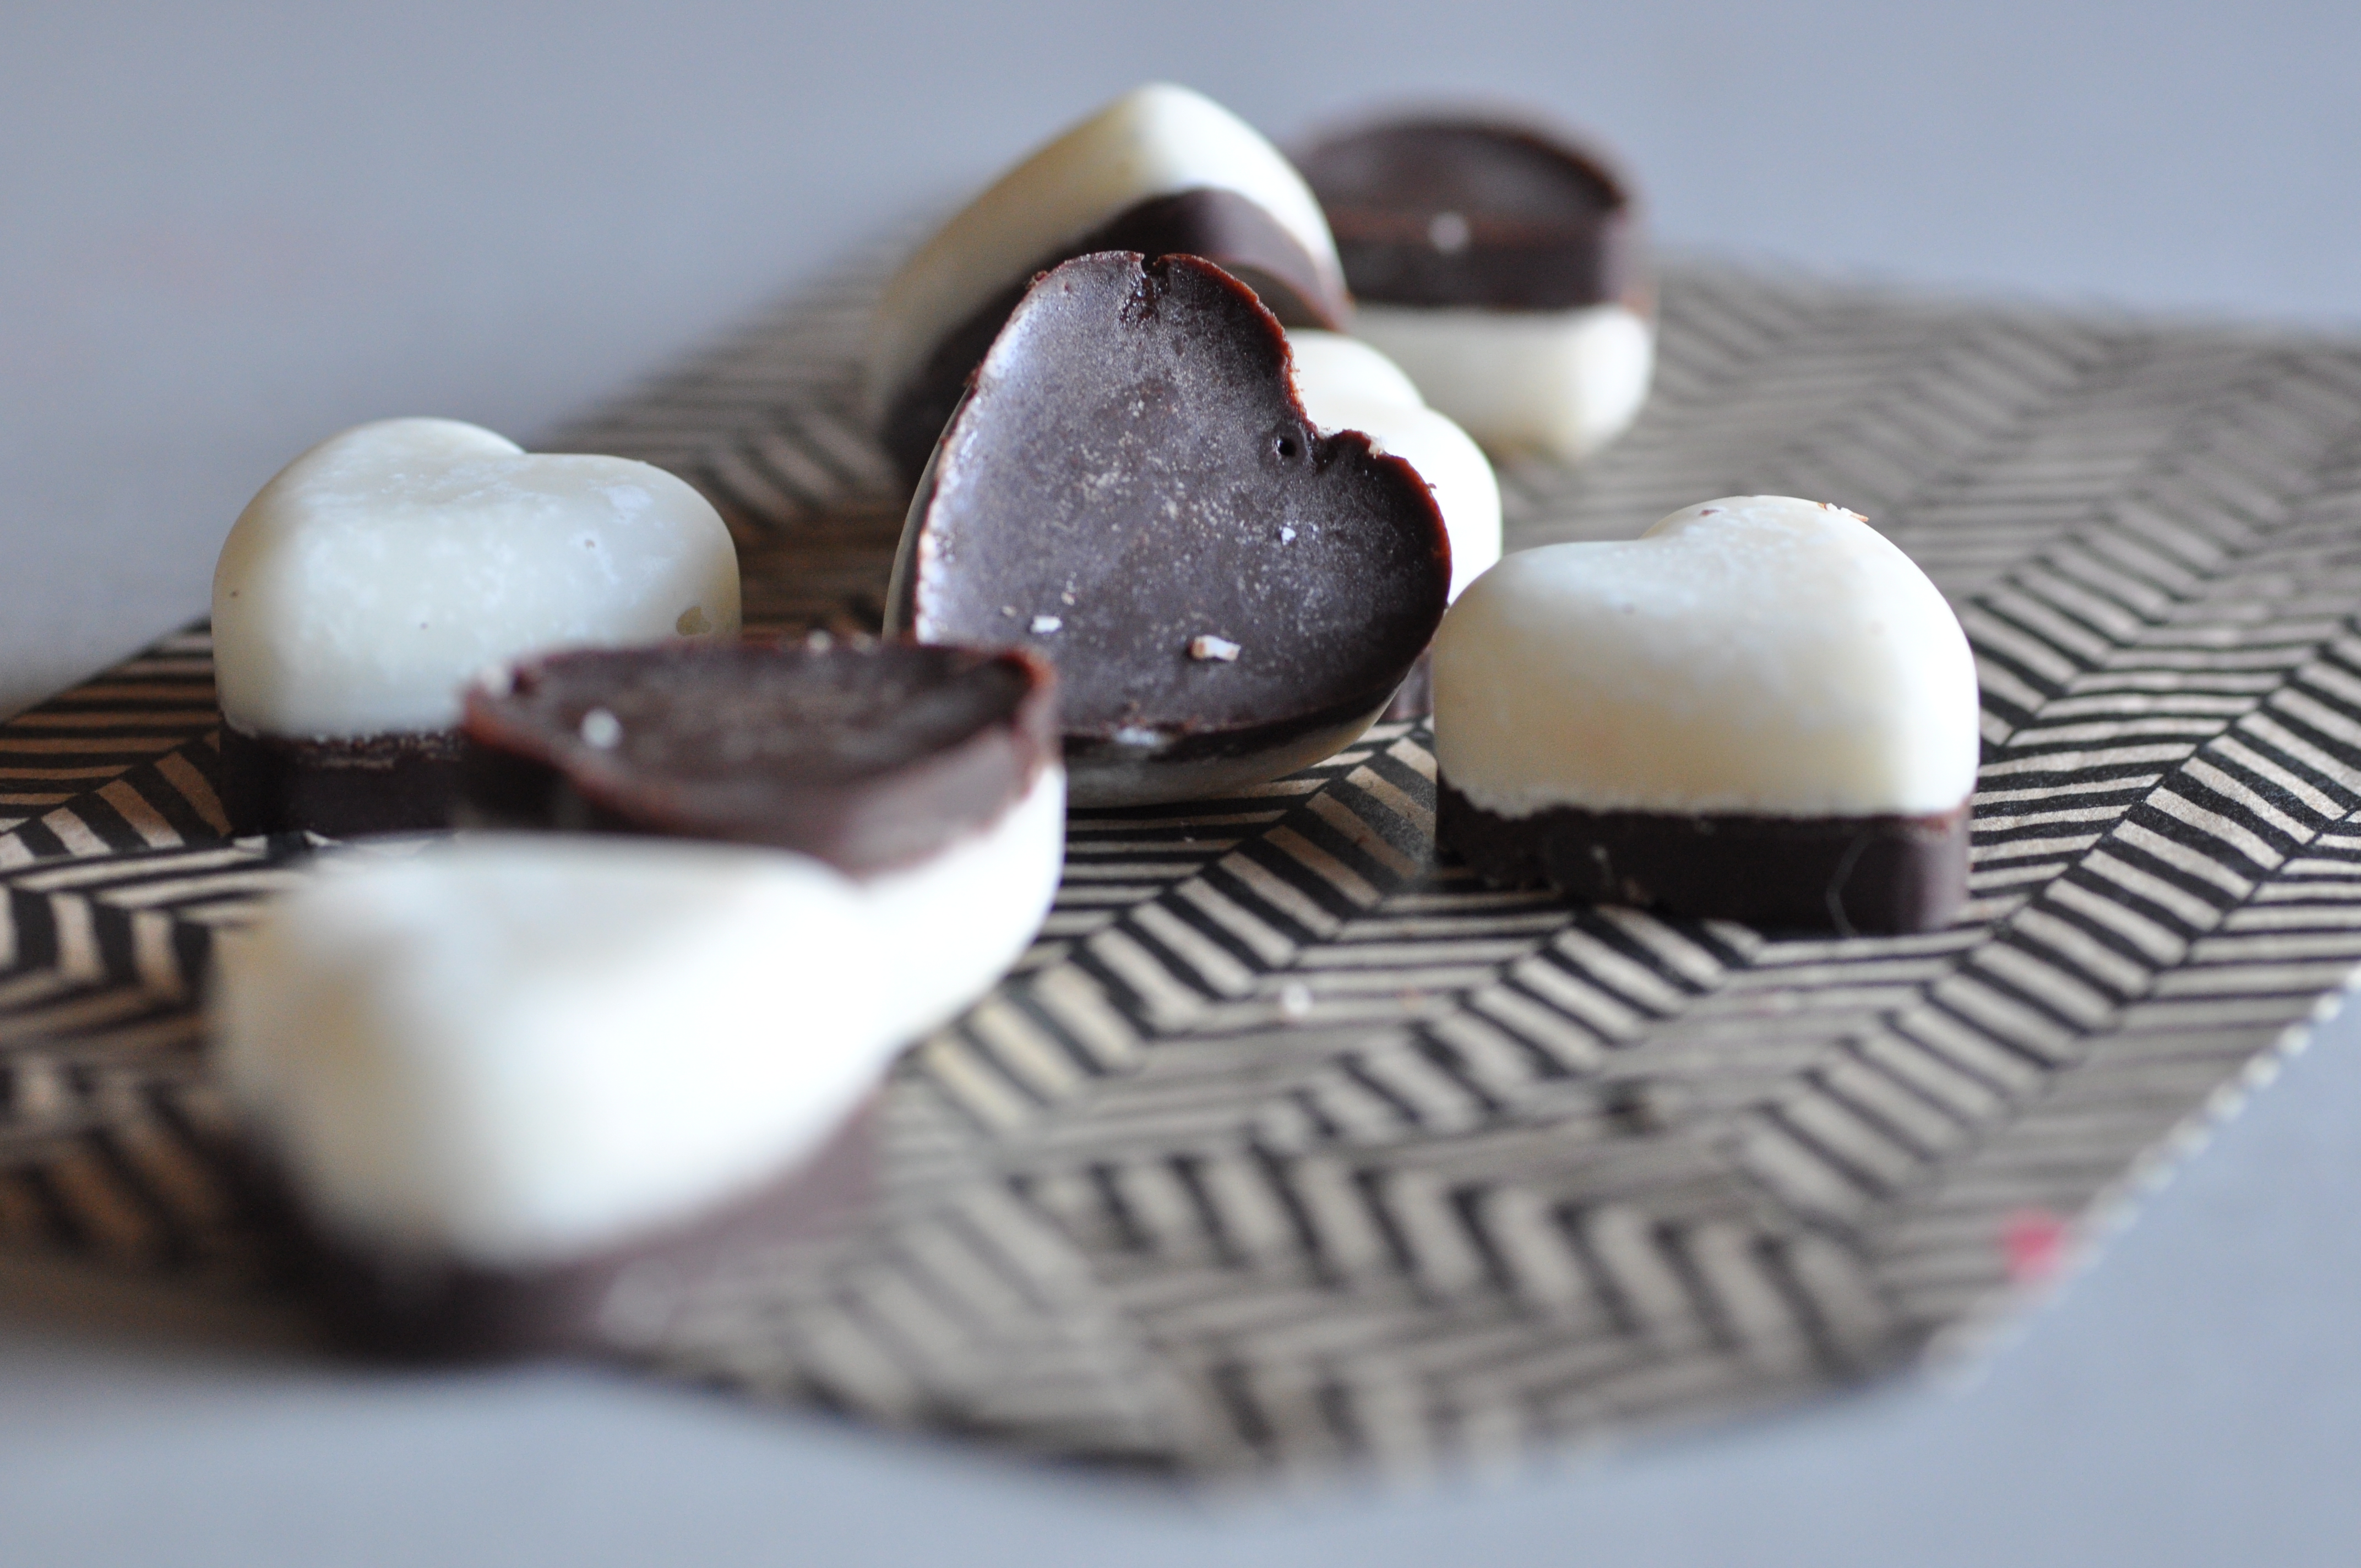
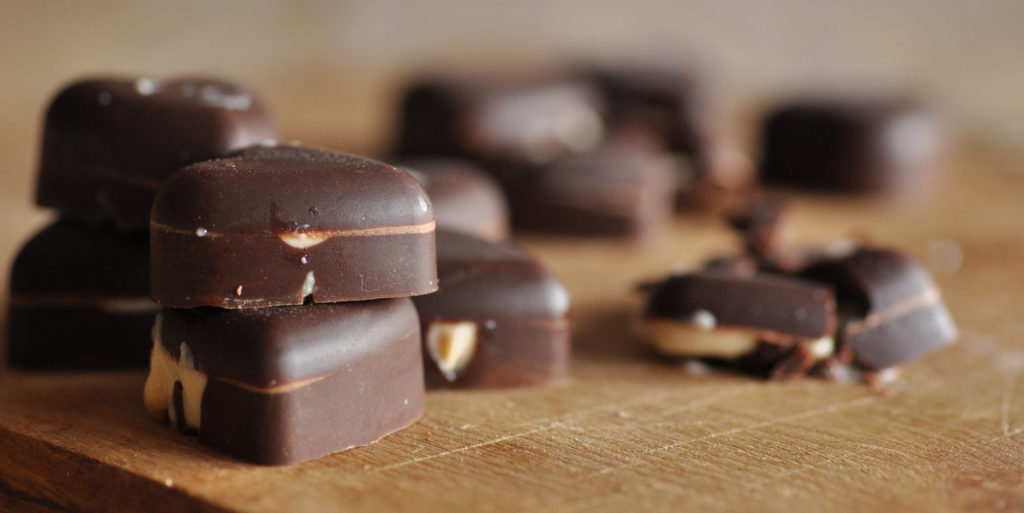
Chocolate Truffles with a Swedish Twist
read more
BROWSE ALL POSTS IN:
Can you believe it? Just a couple of weeks left of 2016, and Christmas just around the corner…! The common phrase of “Where does time go?” is the thing on my mind. Maybe my dad has a point when he...
It’s that time of the year again, when you get to indulge in making and giving, without anyone questioning it. Actually it seems much expected that you do so. In this time of “shoulds”, "musts" and...
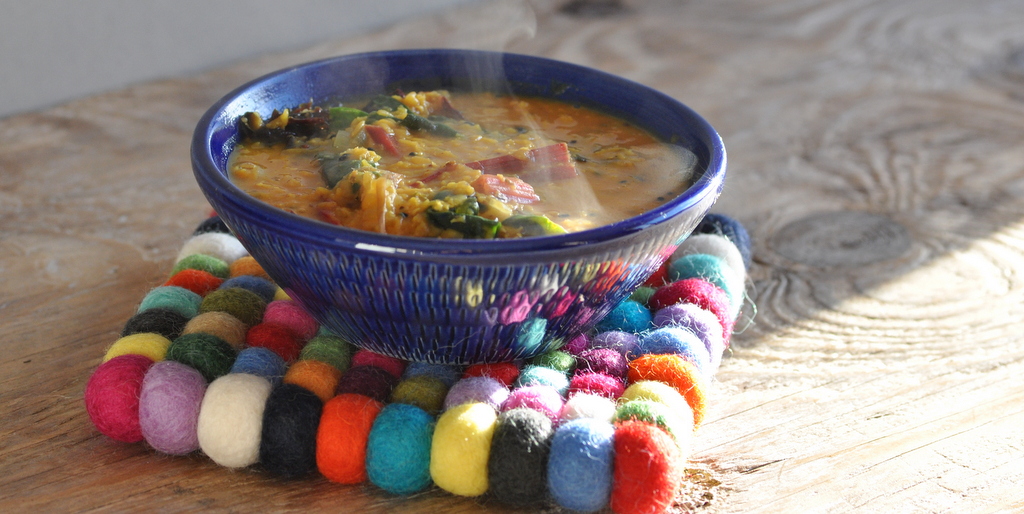
I don’t know about you, but almost a week after the American Presidential election and even though at present it does not directly affect me on a personal level, I still feel a little flat. It...
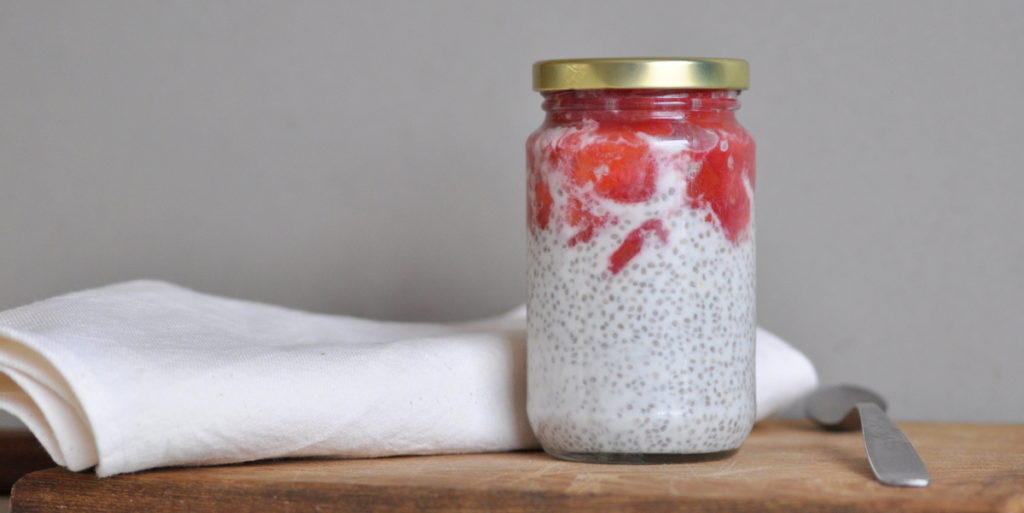
Many months ago I posted a chia pudding recipe here and there's also many, many varieties floating around the internet. Why? One reason may be because it's a bit trendy. Just like quinoa was a few...
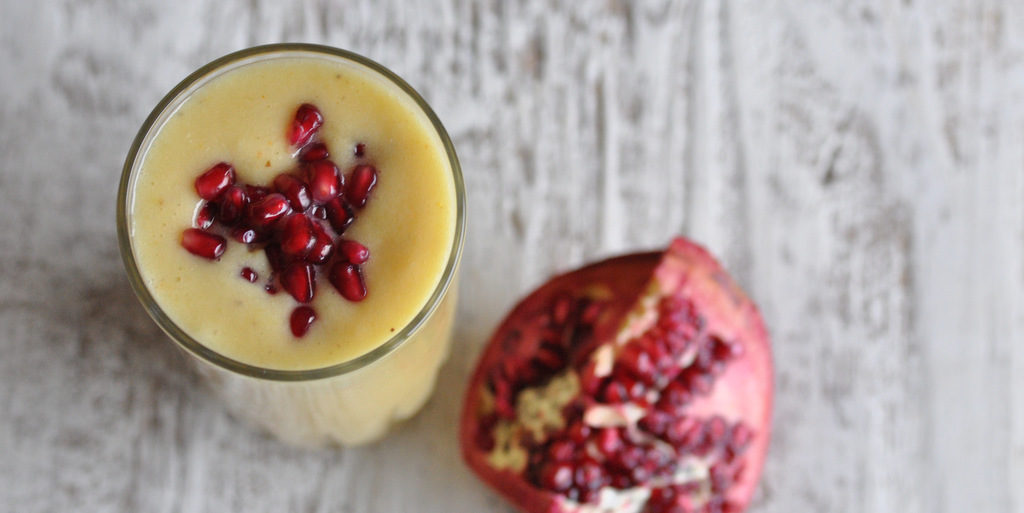
In keeping with the yellow theme from last month's blog post on the FIRE Aspect, I give you another yellow combination. And yes, it's still a liquid one(!) *Note to self, make the next recipe...
Can you have sweet treats that are actually beneficial to your health and body? I, for one, would like to think so. It can be so confusing knowing what to eat these days... However if you stick to...