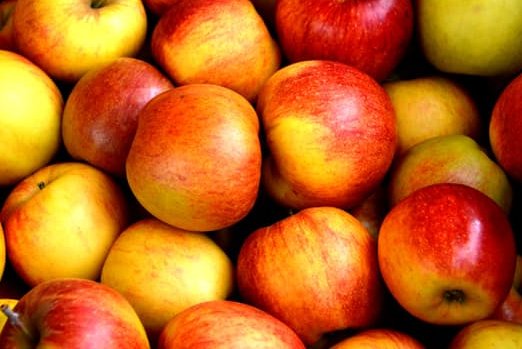
by Linn Thorstensson | Sep 11, 2017 | Breakfast, Healthy Treats, Recipes, snack, Vegan
Whilst I am chipping away at a non recipe blog post I thought I would share this seasonal favourite one of mine. It is funny because sometimes those types of posts almost writes themselves, and other times they require a bit more of an effort. I picked up some really...
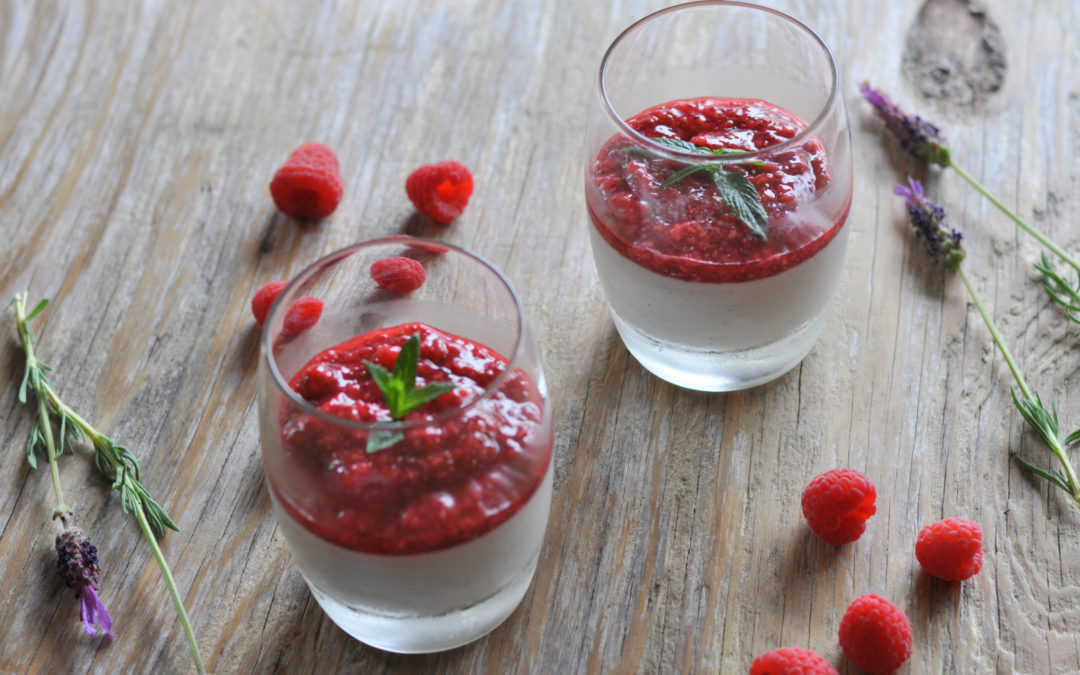
by Linn Thorstensson | Jul 17, 2017 | Dairy free recipes, Gluten free, Recipes, snack, Vegan
Let’s continue with the theme of sweetness. And summer. After about 10 days spent with my family in Sweden, where it wasn’t up the usual July temperatures, I subsequently returned to an Ireland which kind of is. So that inspired me to share this recipe I...
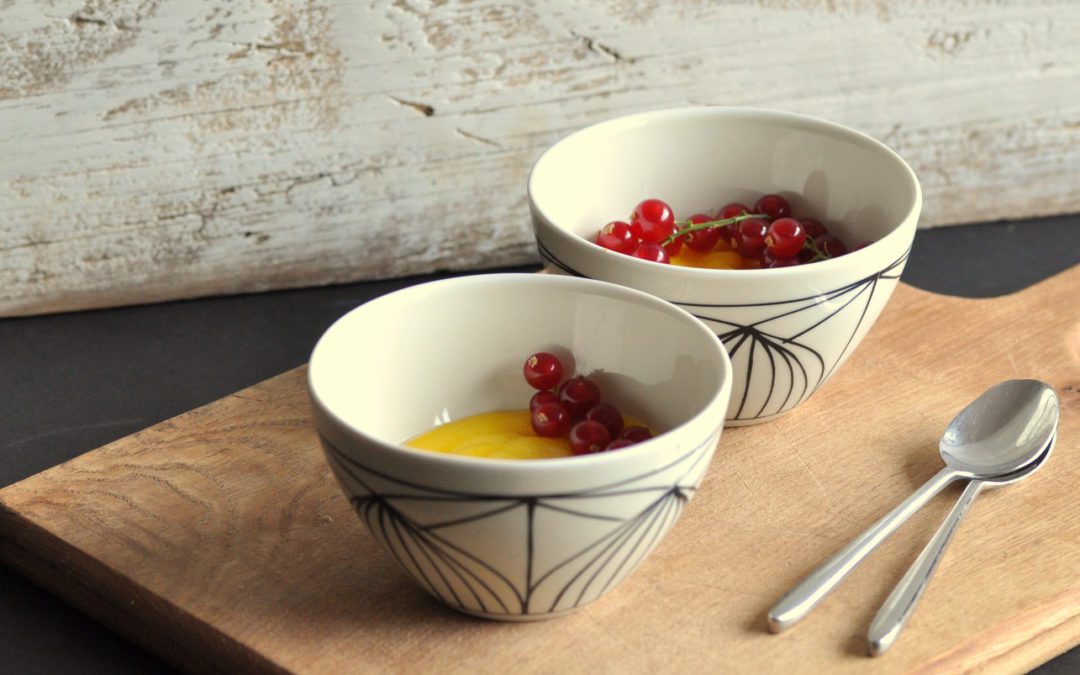
by Linn Thorstensson | Aug 9, 2015 | Dairy free recipes, Gluten free, Healthy Treats, Recipes, snack
Do you ever end up trying something new because you are stuck with some leftover food and don’t want it to go to waste? I strongly dislike food waste as it is both a waste of money AND resources. In my younger days, I had an aversion to eating the same food more...
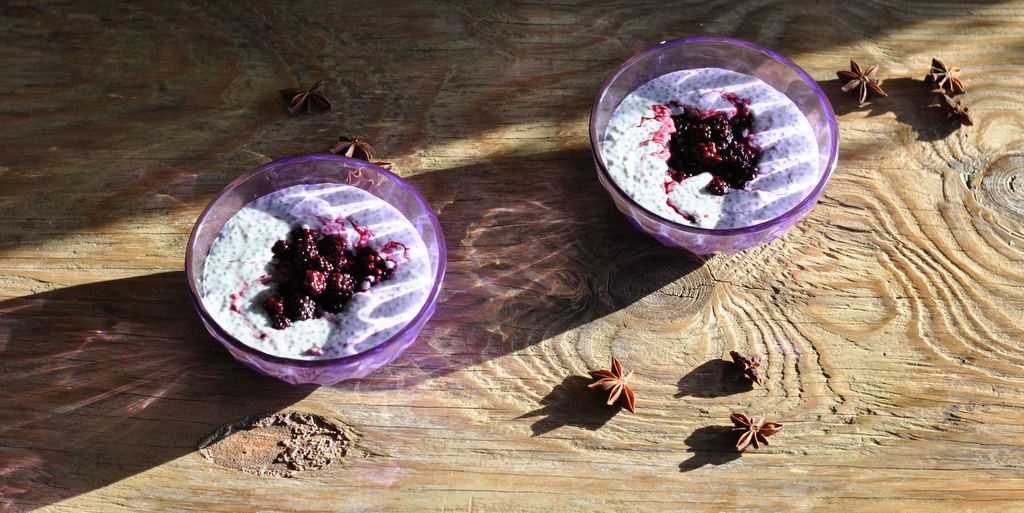
by Linn Thorstensson | Dec 16, 2014 | Breakfast, Dairy free recipes, Diet, Gluten free, Healthy Treats, Immune System, Recipes, Vegan, Vegetarian
This recipe has sat in the draft section for some time. Turns out posting it now, is good timing still, because it could easily work as a nutritious addition to your menu over the holiday season. You may have heard of chia puddings by now. You may even be a big fan of...
by Linn Thorstensson | Nov 5, 2014 | Dairy free recipes, Gluten free, Healthy Foods, Healthy Treats, Recipes, snack, Vegetarian
We’re turning one! A little over a year ago this food blog was born. It all started with an idea that it would be so much more fun to cook, photograph and blog about the food I cook in my own kitchen and the type of food I recommend to my clients. Getting a...