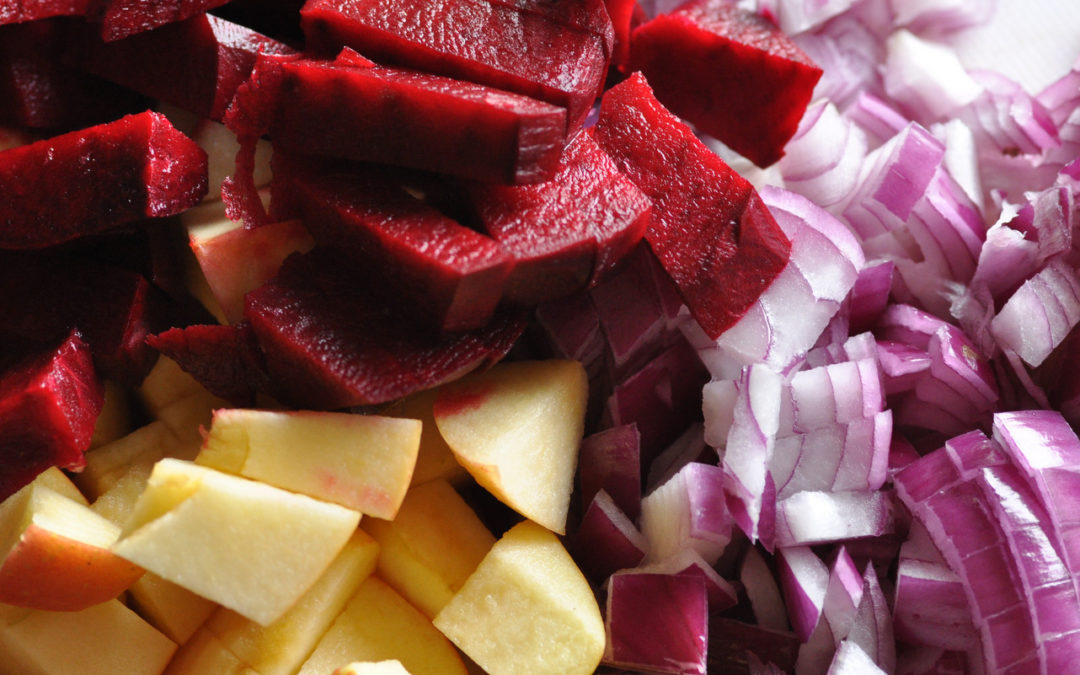
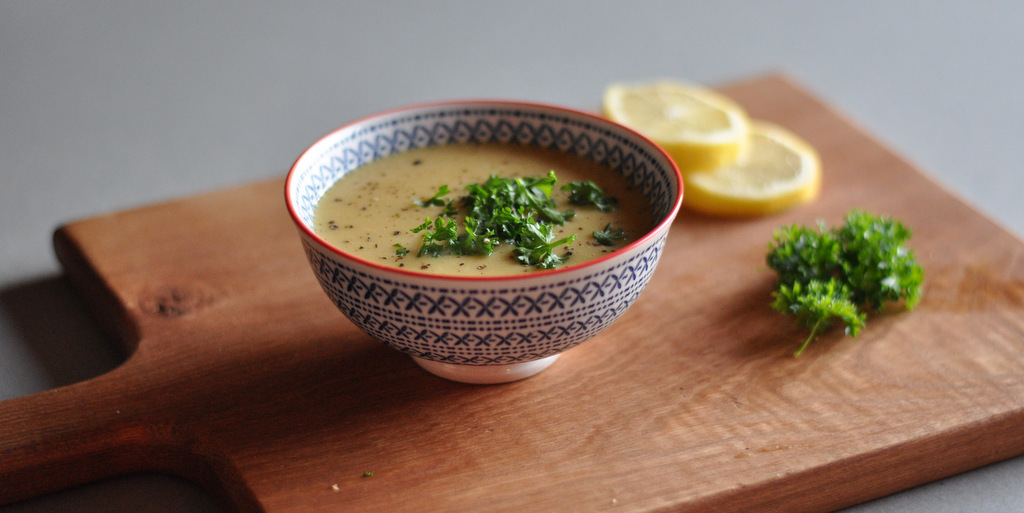
by Linn Thorstensson | Nov 29, 2015 | Recipes, Soup
Since we had a Summer Salad Series, I thought it I might treat you to some Winter Warmers over the coming months. Soups are such an amazing way to enjoy seasonable vegetables and to ensure you eat your minimum of 5-a day. Enjoying a big bowl of soup daily is a...
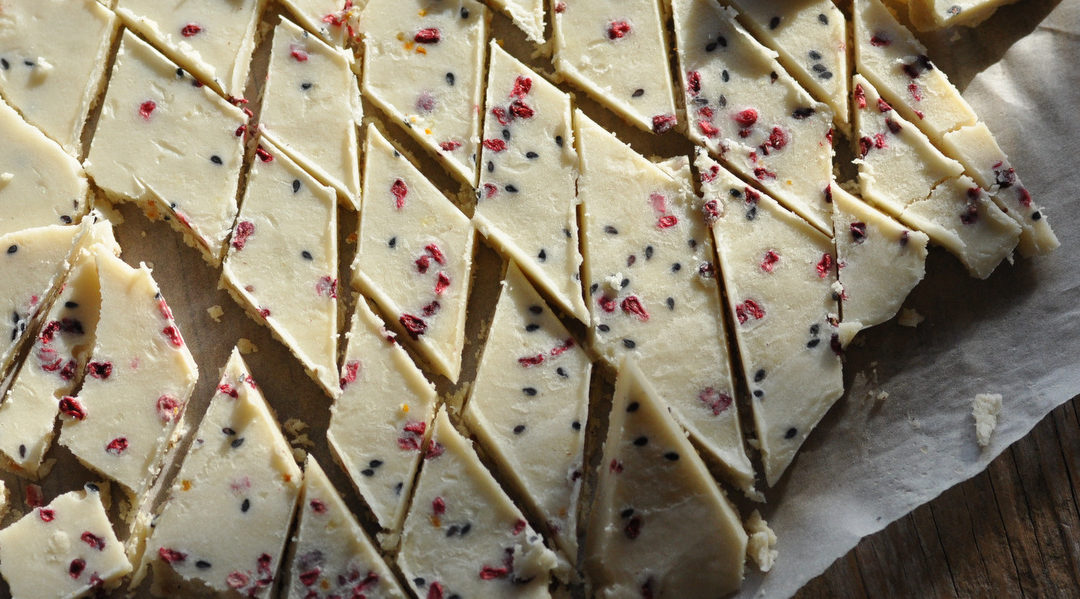
by Linn Thorstensson | Jun 14, 2015 | Gluten free, Guest Post, Healthy Treats, Recipes, snack, Vegan
A (good) few week’s ago I got sent a lovely box of goodies to try from the superfood company Iswari. The company has it’s head quarters in Kinsale, Co. Cork, not a million miles away from where I live. Teaming up with a company that offers great quality...
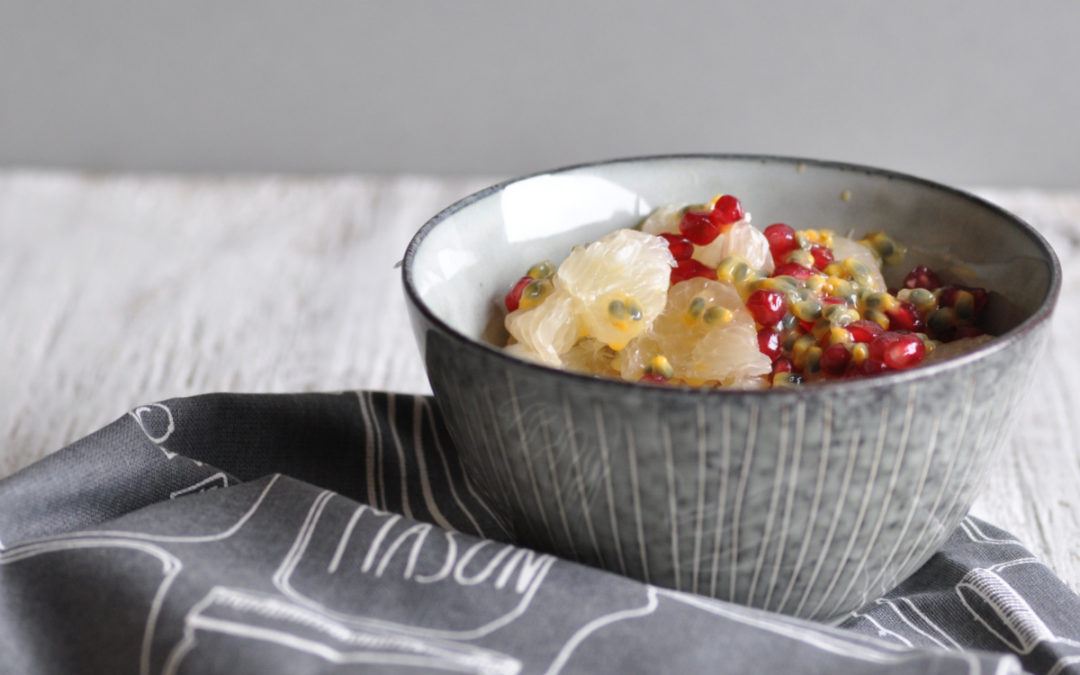
by Linn Thorstensson | Mar 8, 2015 | Breakfast, Dairy free recipes, Gluten free, Healthy Foods, Recipes, Vegan
It’s finally starting to feel like Spring here today! A few hours in the mountains, sunshine and a little cooking and it feels like a proper day off. And a little blogging of course 😉 I’m going to keep it short and sweet today as I’m planning to...
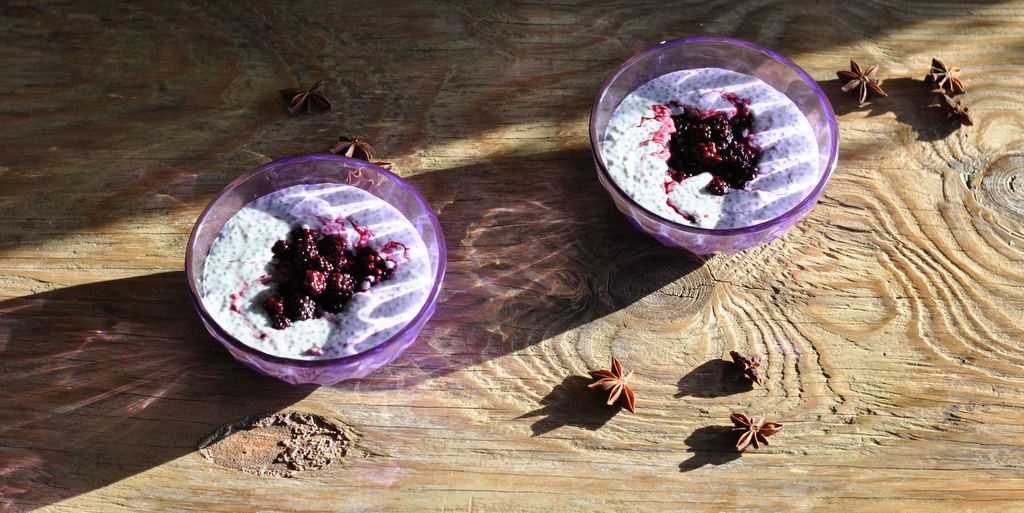
by Linn Thorstensson | Dec 16, 2014 | Breakfast, Dairy free recipes, Diet, Gluten free, Healthy Treats, Immune System, Recipes, Vegan, Vegetarian
This recipe has sat in the draft section for some time. Turns out posting it now, is good timing still, because it could easily work as a nutritious addition to your menu over the holiday season. You may have heard of chia puddings by now. You may even be a big fan of...
by Linn Thorstensson | Dec 10, 2014 | Dairy free recipes, Gluten free, Healthy Foods, Recipes, Soup, Vegan
You may be right in the middle of the craziness, that seems totally normal this time of year. Or you may be like me, presents bough, wrapped and posted with just a couple more Christmas cards left to write. Chilling, in other words. Though I’m not sure why I...